
This thread is not meant to be a detailed "how-to." It is meant to be for informational purposes, and as the first link in my buildup thread for my corolla. I will give some details along the way, but as I was not intending to create a writeup, I skipped a few steps here and there between photos.
I used to be a professional installer, but I quit to work an IT job and save the energy for my own personal projects. Comments, questions and criticism are welcome. I know that some of us don't care for stereo systems anymore, but I will always have a love for music and good sound quality. Thus, rather than a trunk full of speakers, amps, fiberglass and wood, I intend to have a fully functional trunk with a cleaner, less in your face audio system.
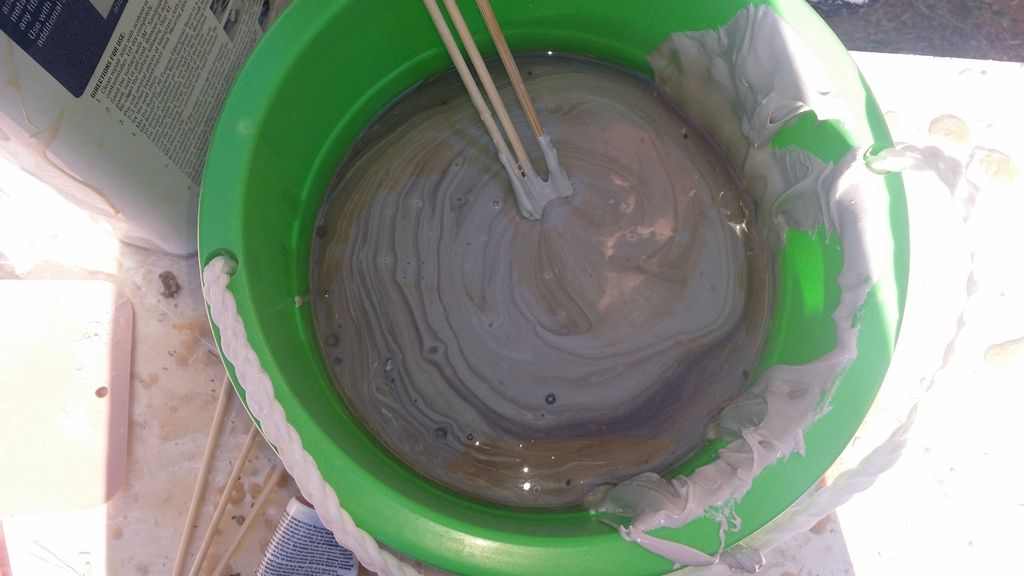
I also no longer have a shop with a nice routing table, and endless supplies. Everything here is done by hand. I used a jigsaw for the baffle holes and a palm sander for the surface. Nothing crazy.
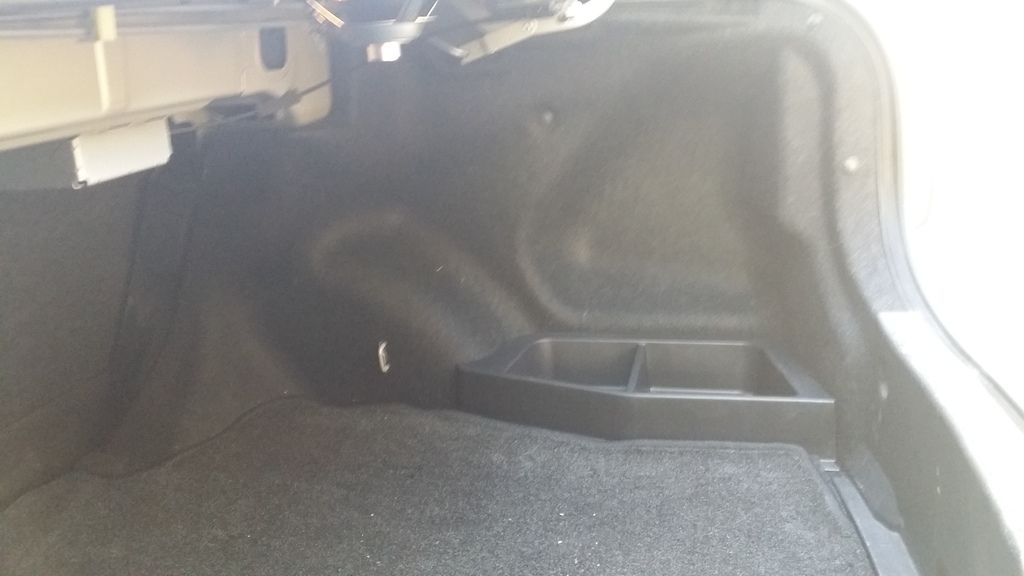
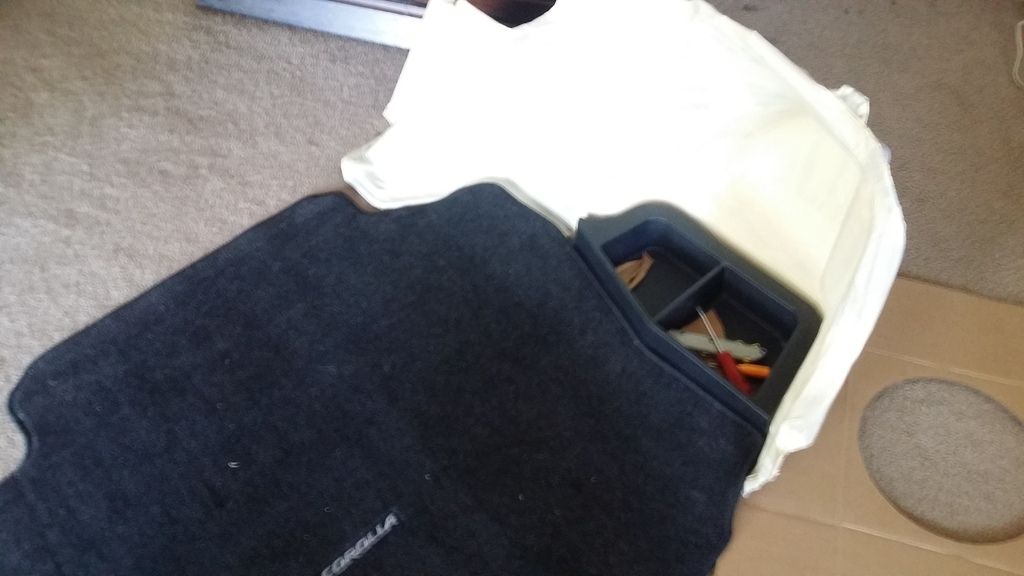
Here is where I started:
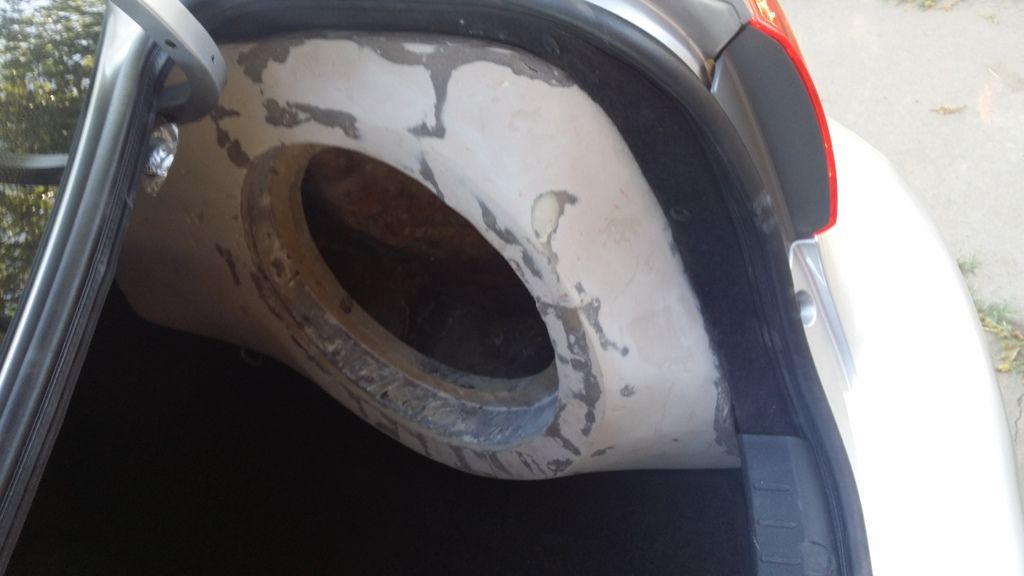
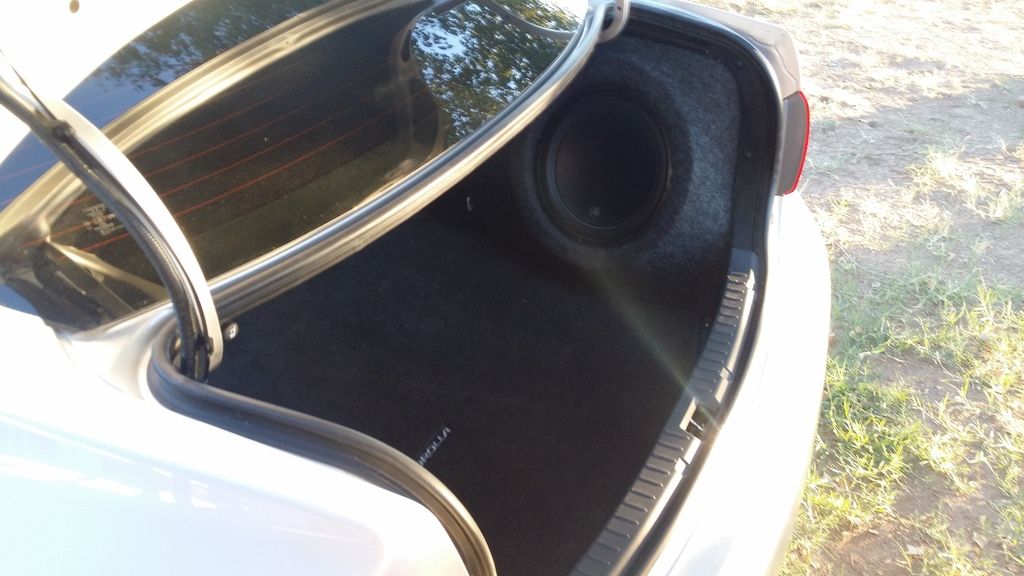
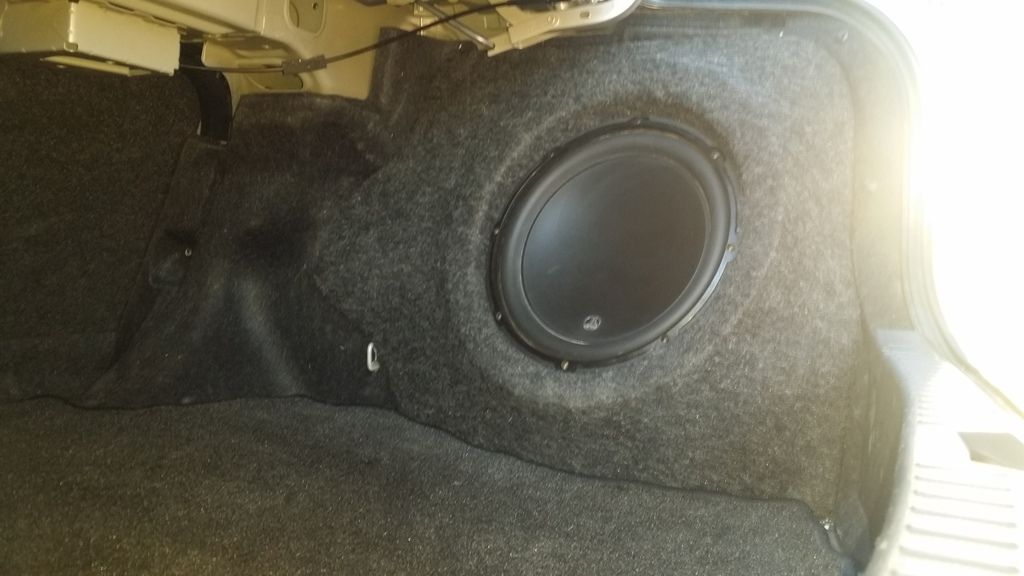
This video shows a quick look inside the trunk of the 2010 Corolla. I decided that the pocket in the right hand side is a great fit, and perfect amount of airspace for this sub.
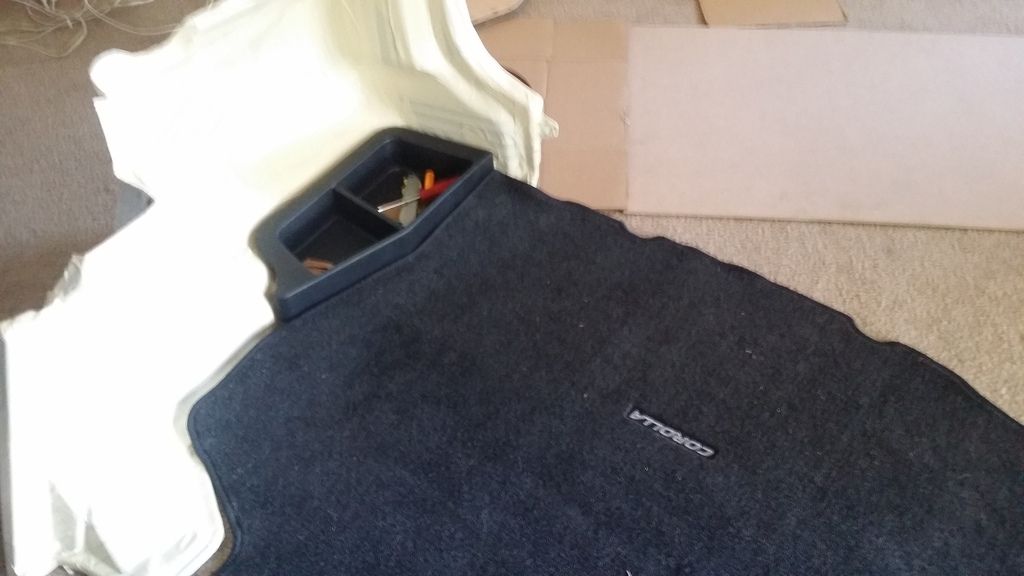
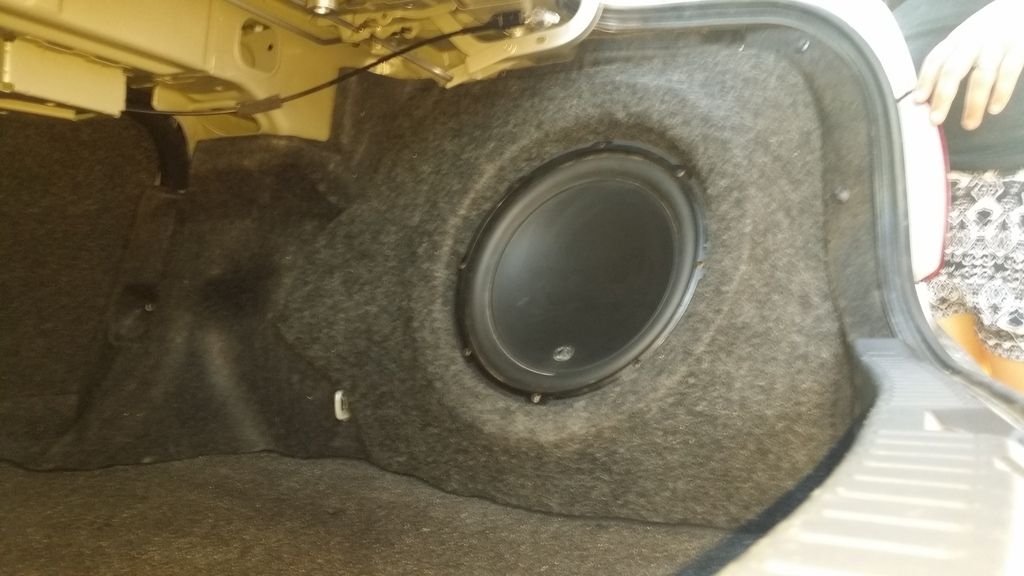
Another peak at that pocket. We will removing that little plastic compartment on the floor and using the line from the carpet to make the shape of the box that will replace it. This way our factory trunk mat can stay, and fit properly.
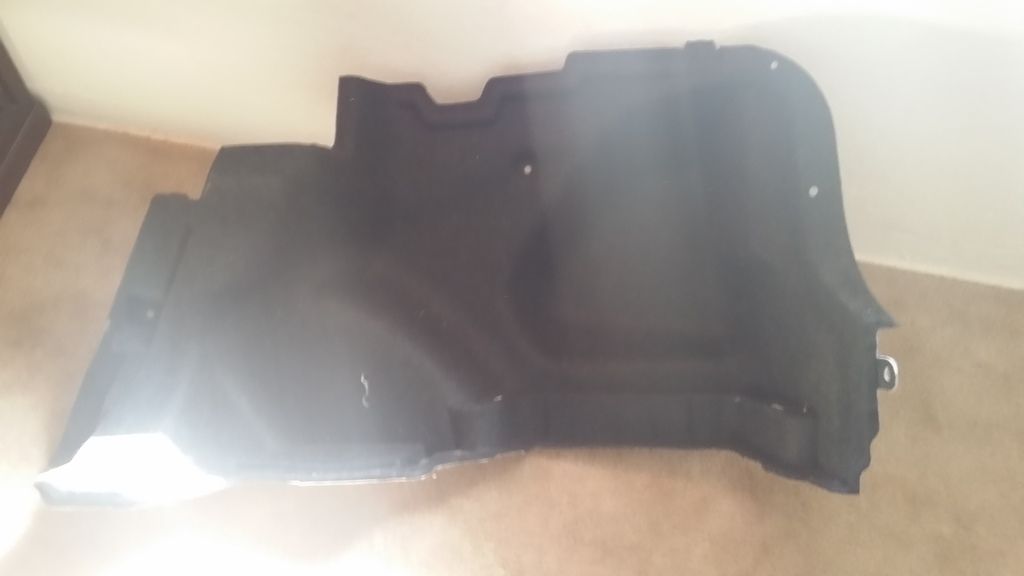
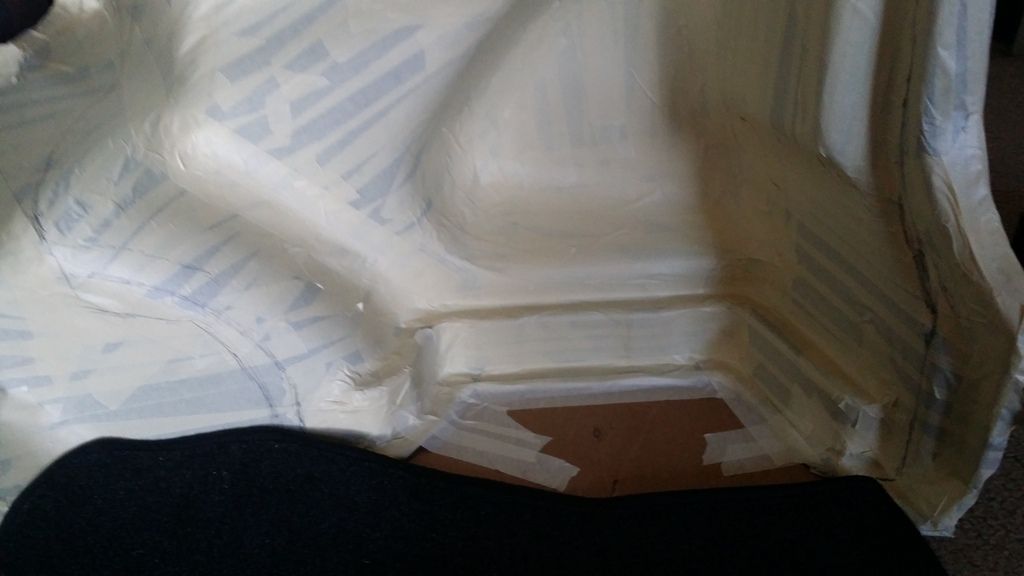
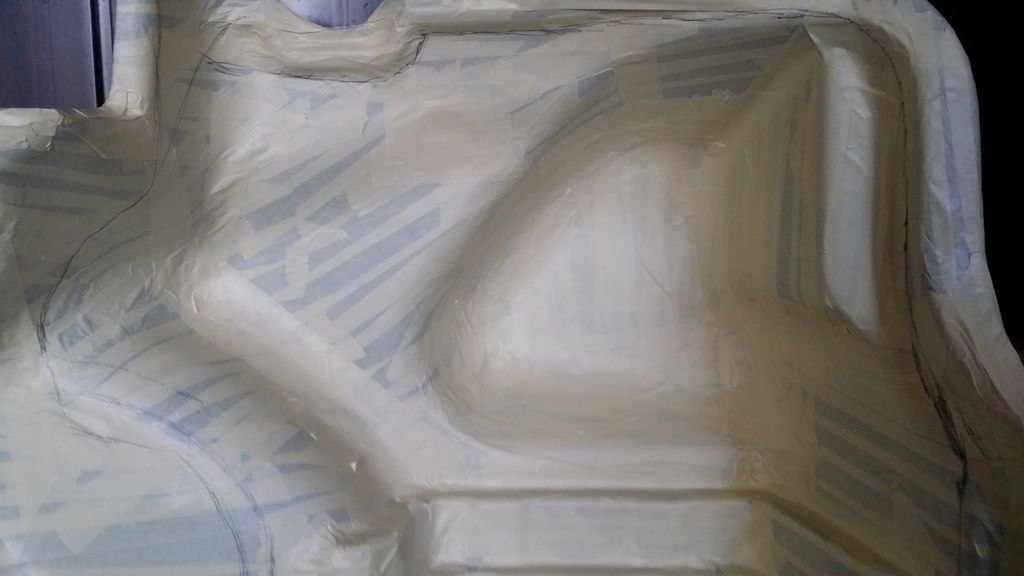
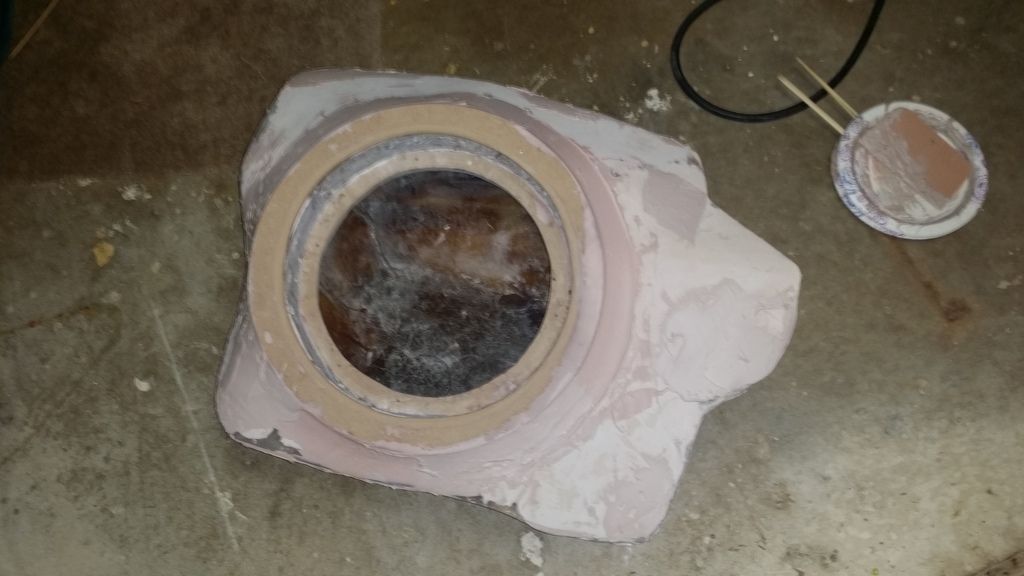
Then I pulled out the liner from the truck to wrap with tape. This is a 3m masking tape. I prefer the 3m because it is thick, and doesn't leave any residue from the adhesive behind.
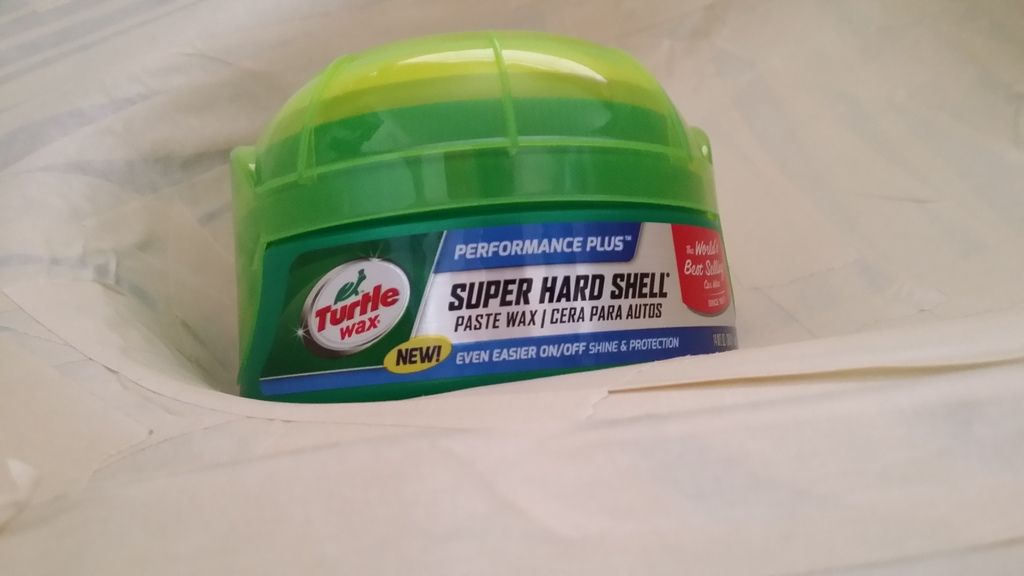
A good covering of turtle wax over the tape so that the fiberglass resin doesnt soak through, and doesn't adhere to the tape. This allows the box to pop right back out of the liner when its formed.
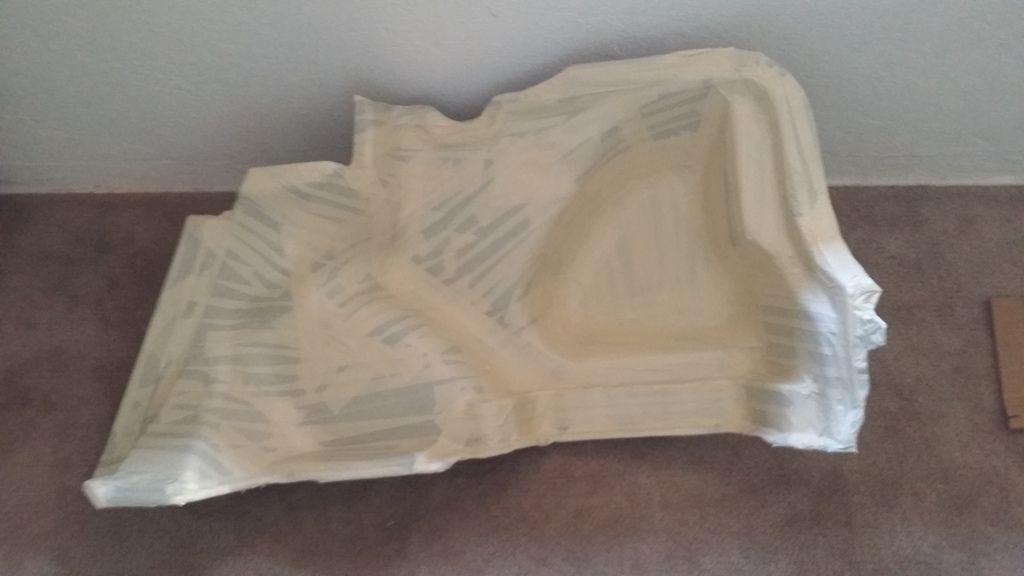
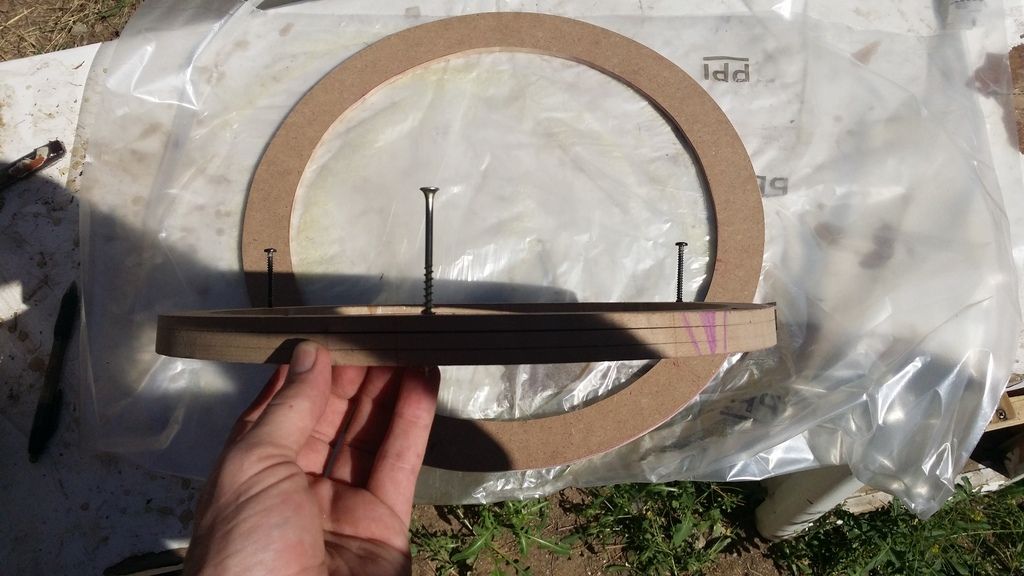
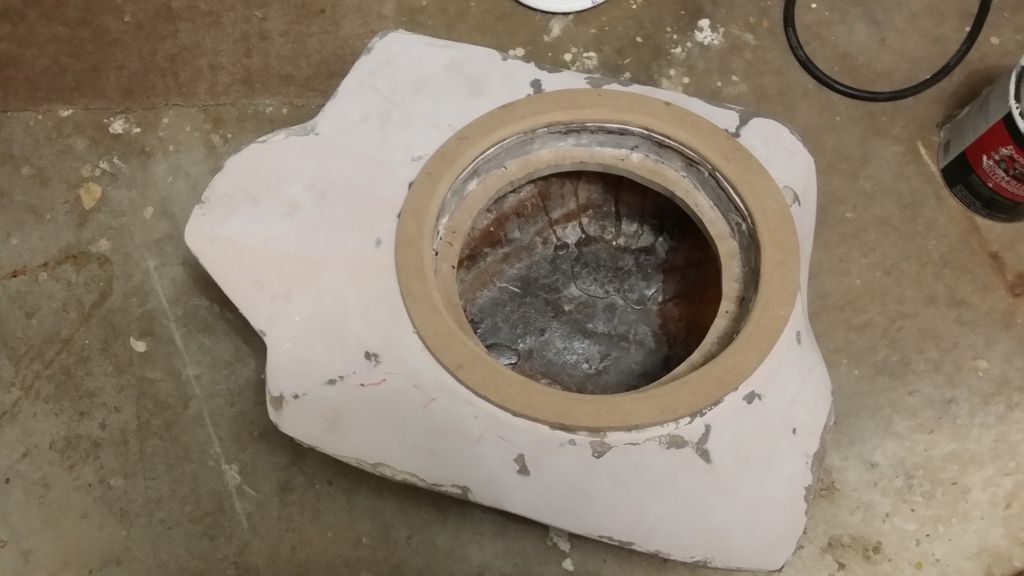
Next I created a mockup of placement of parts in the trunk. I used this mockup to create an outline of the edge of the box with a pen. If a good solid line is created, then it will easily show through many layers of fiberglass and allow an easy trim of the finished box.
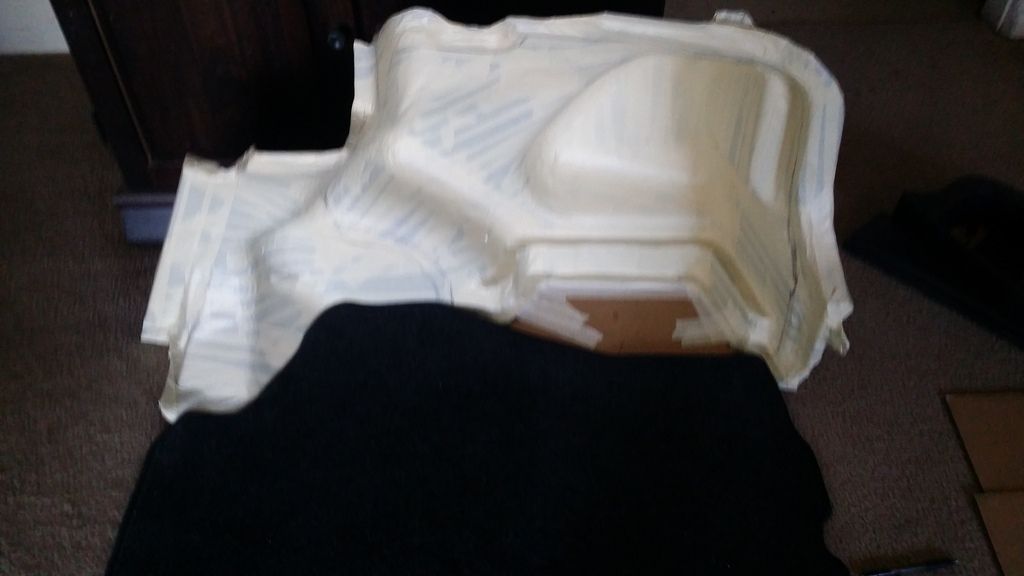
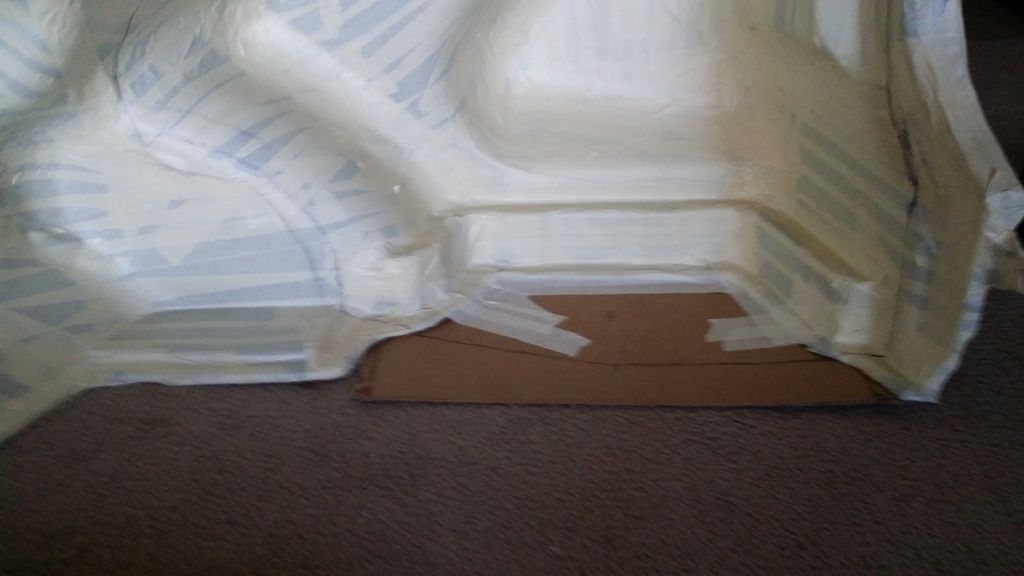
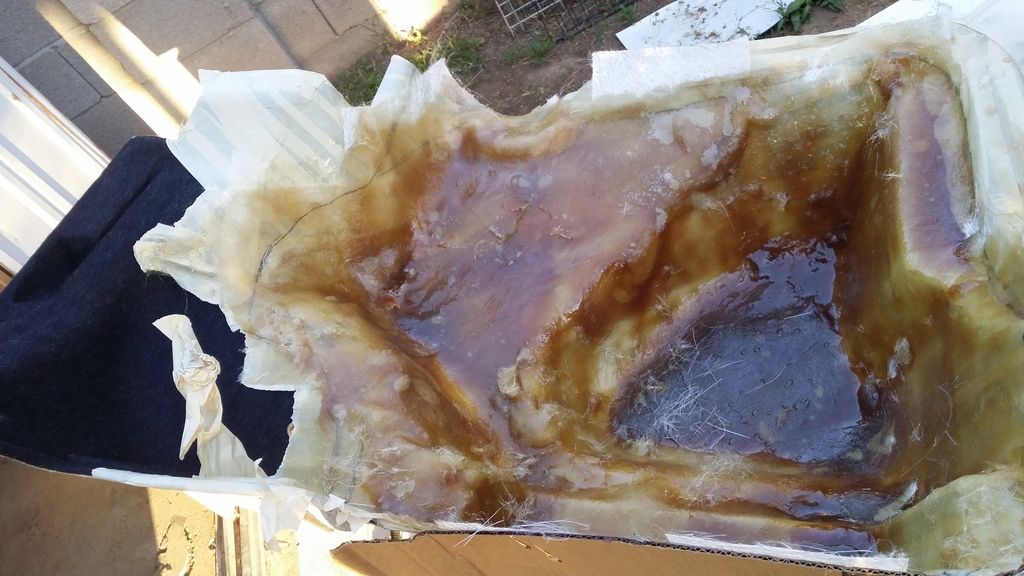
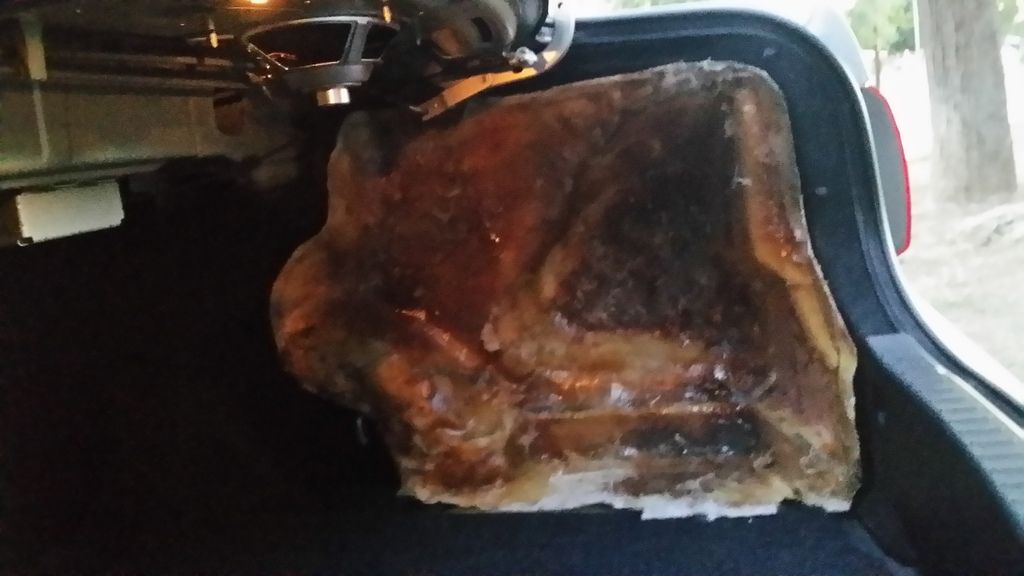
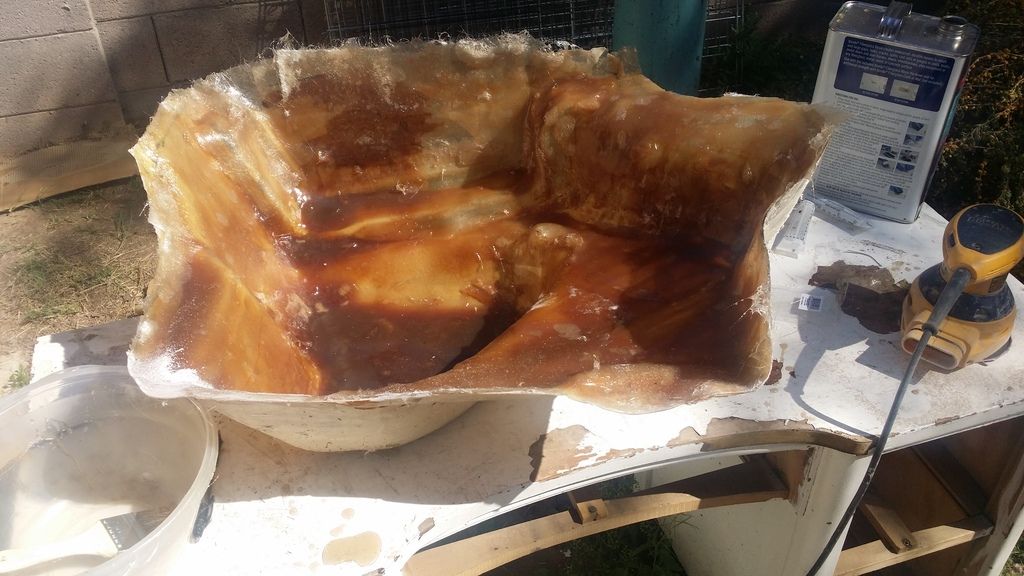
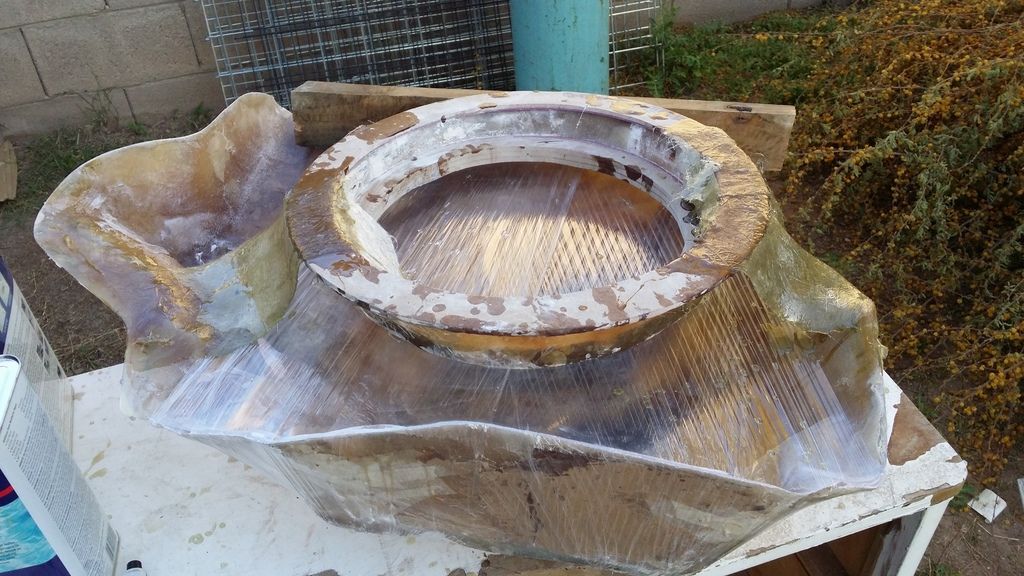
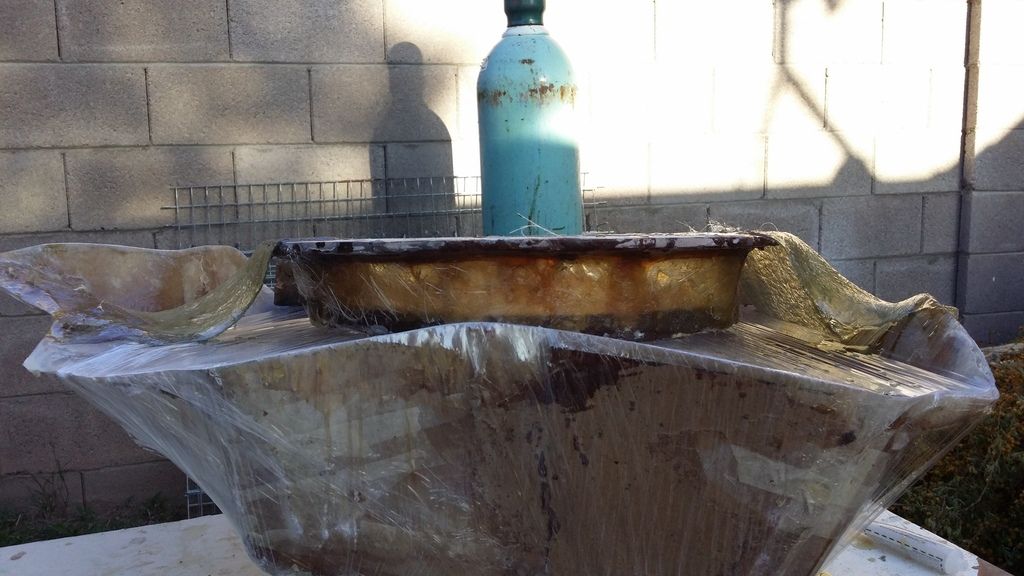
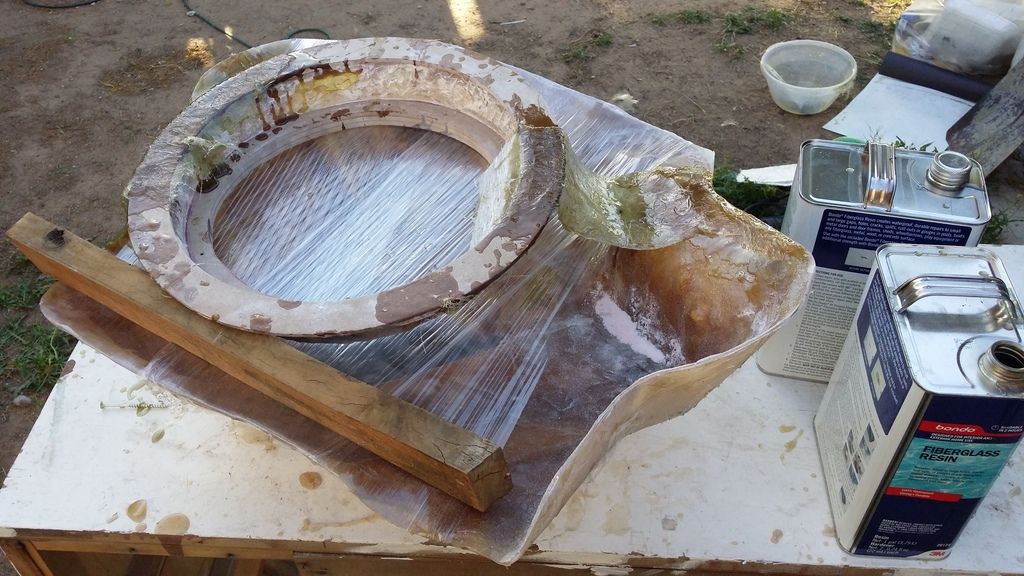
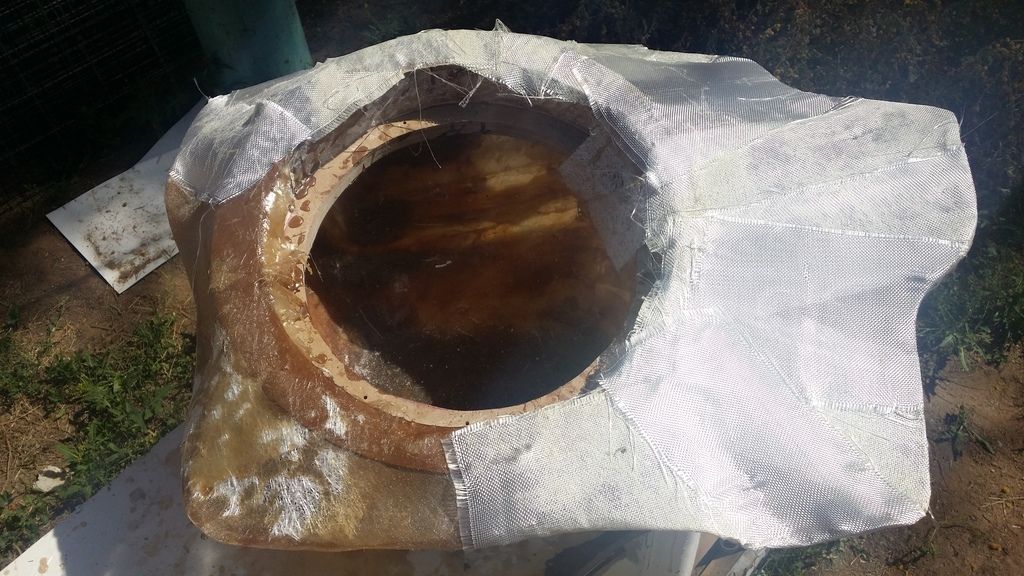
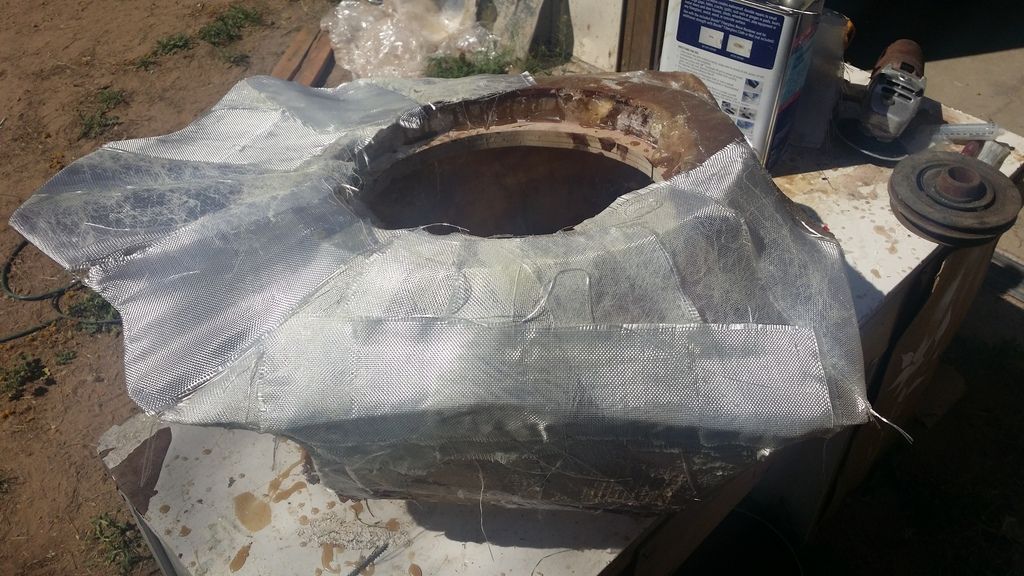
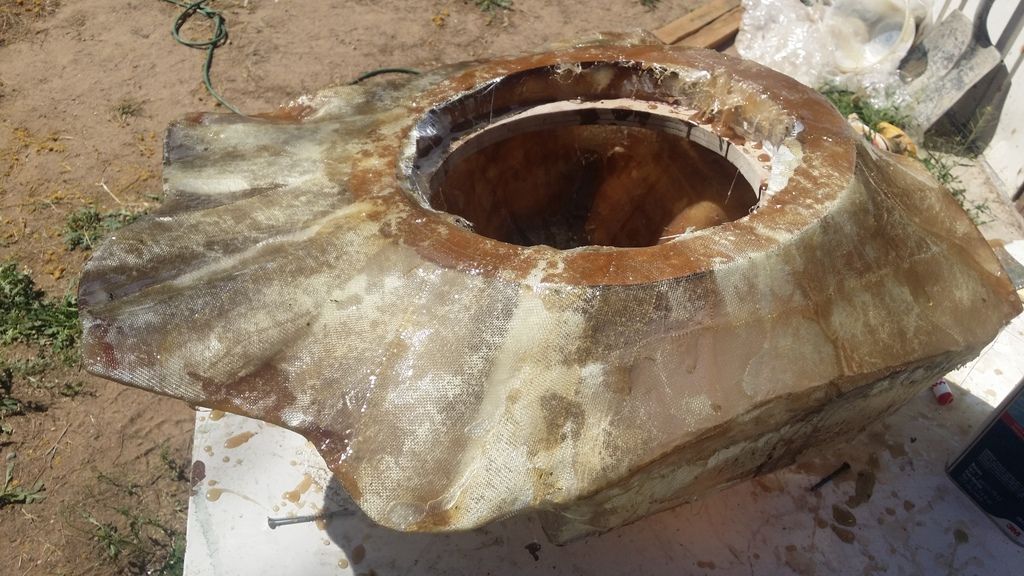
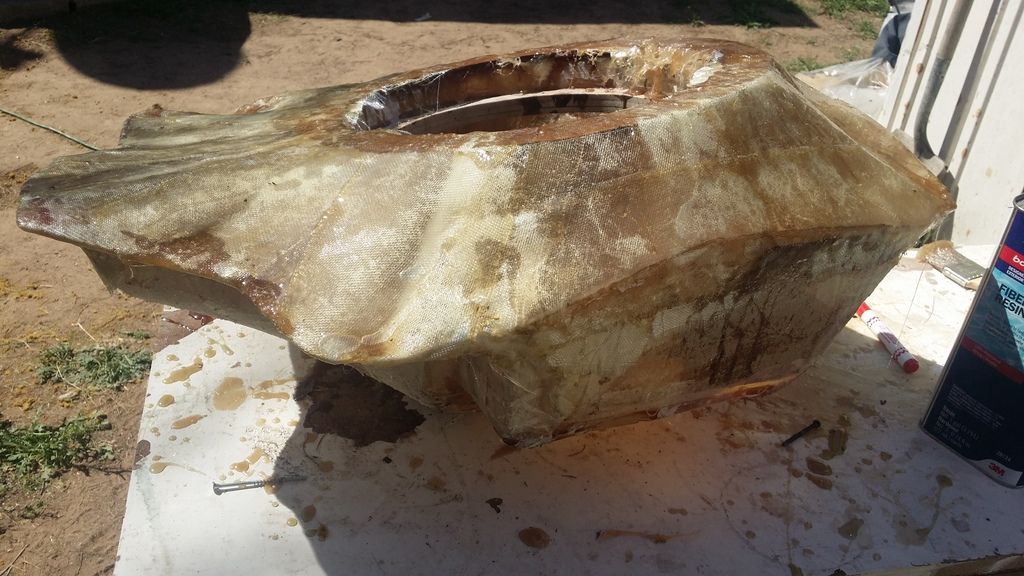
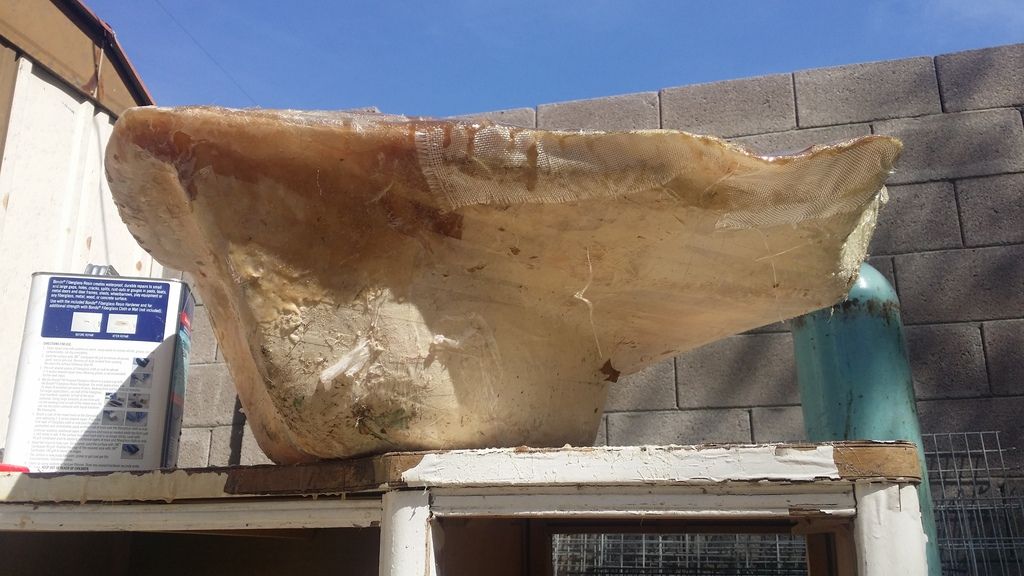
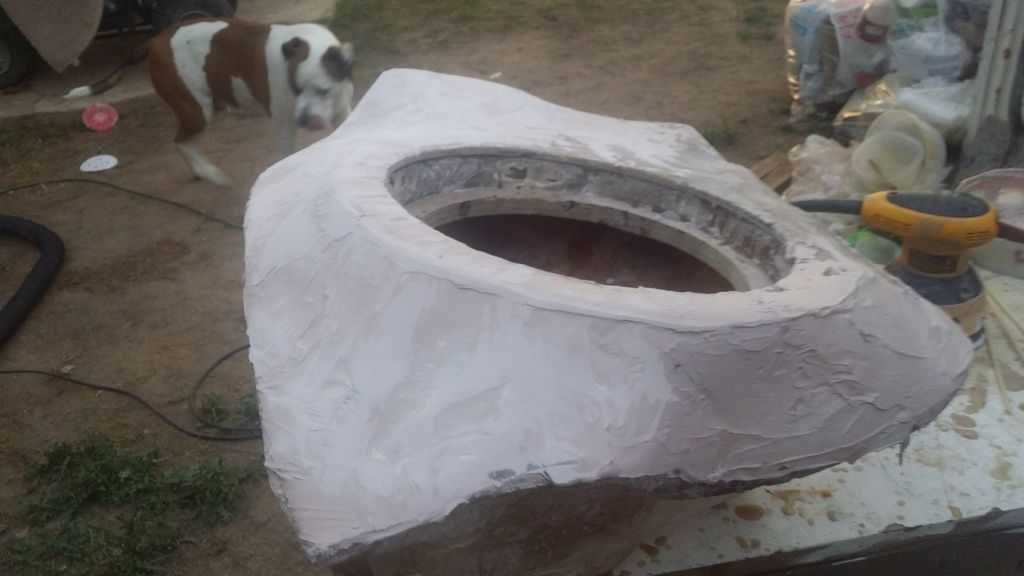
Here is a raw mold of the first layer. At this time, the molded section can be removed from the trunk panel.
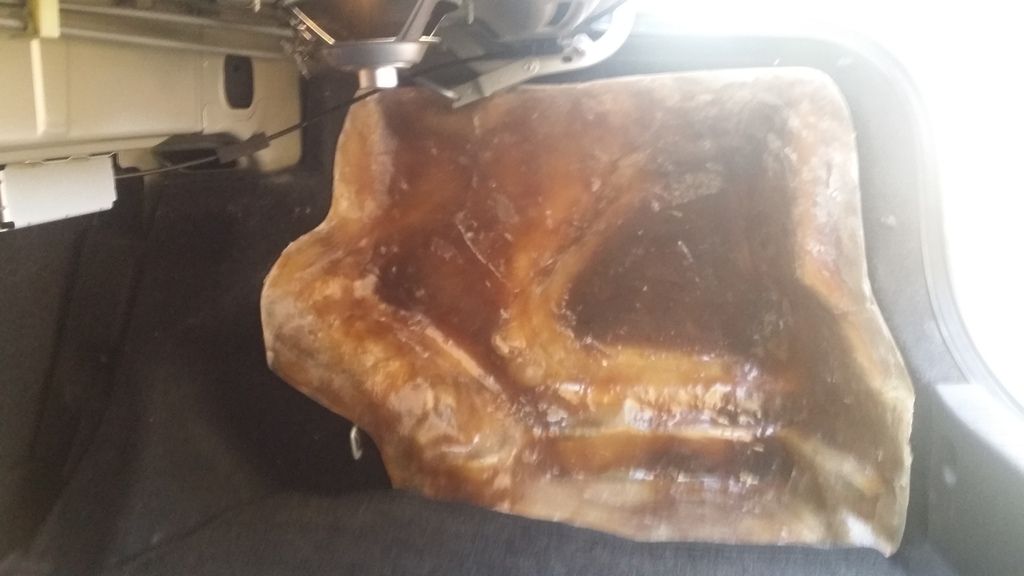
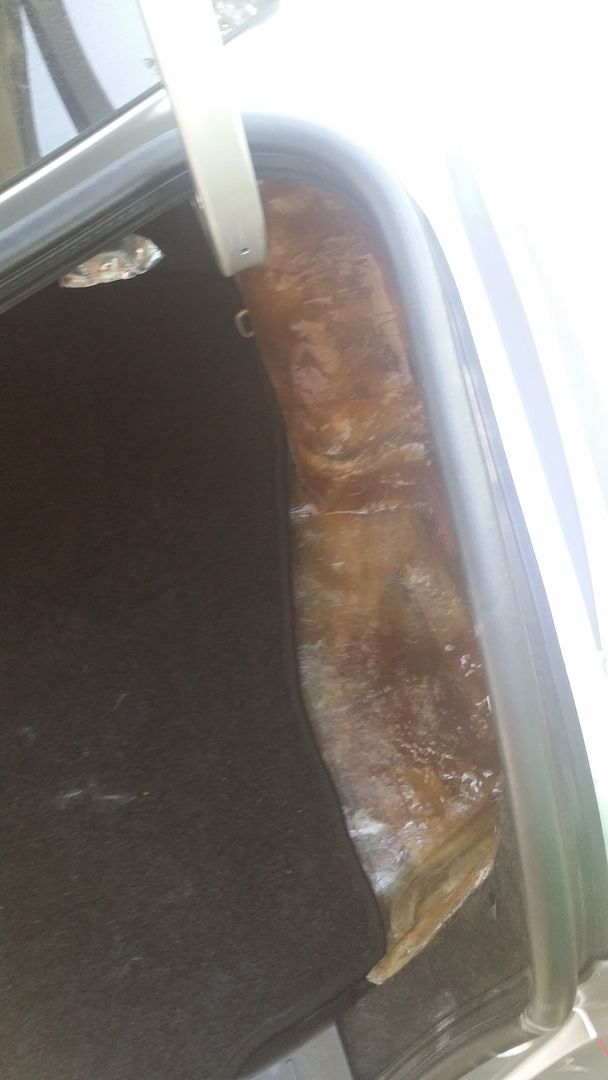
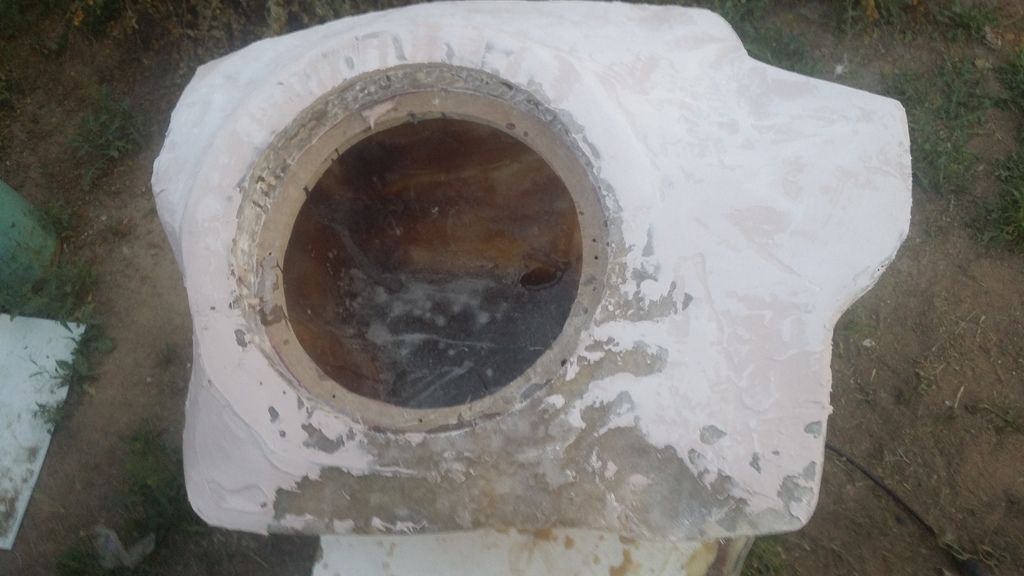
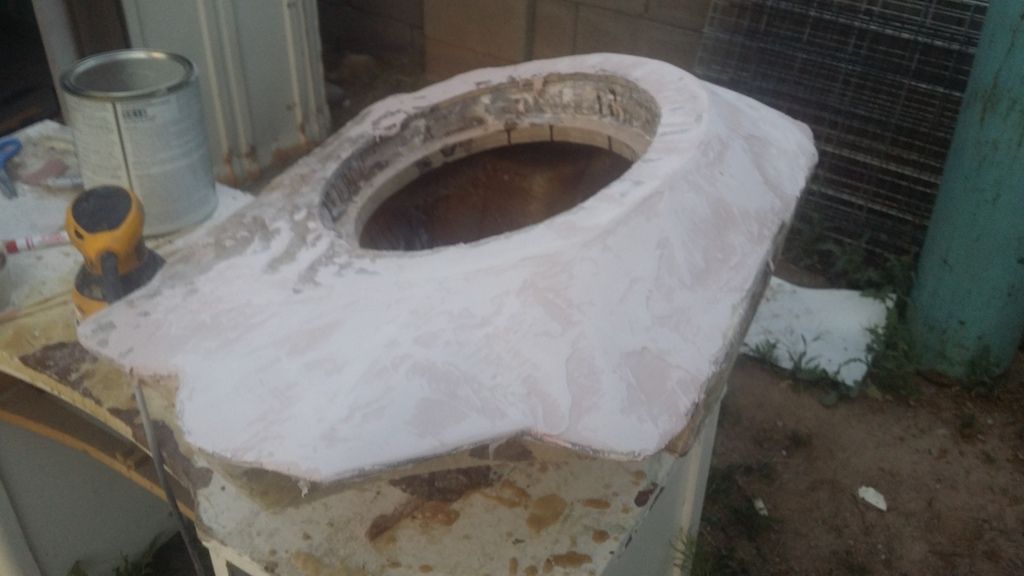
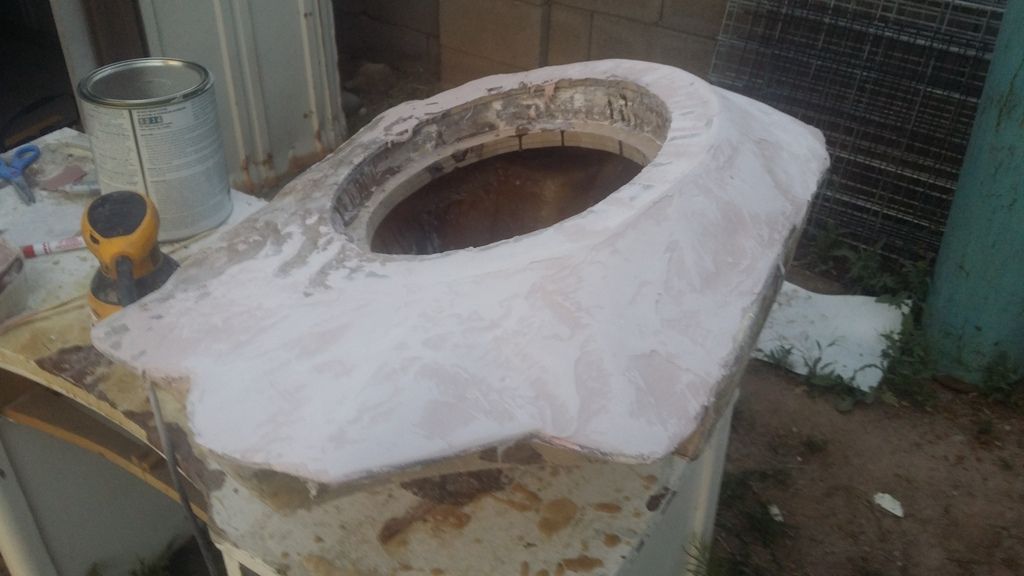
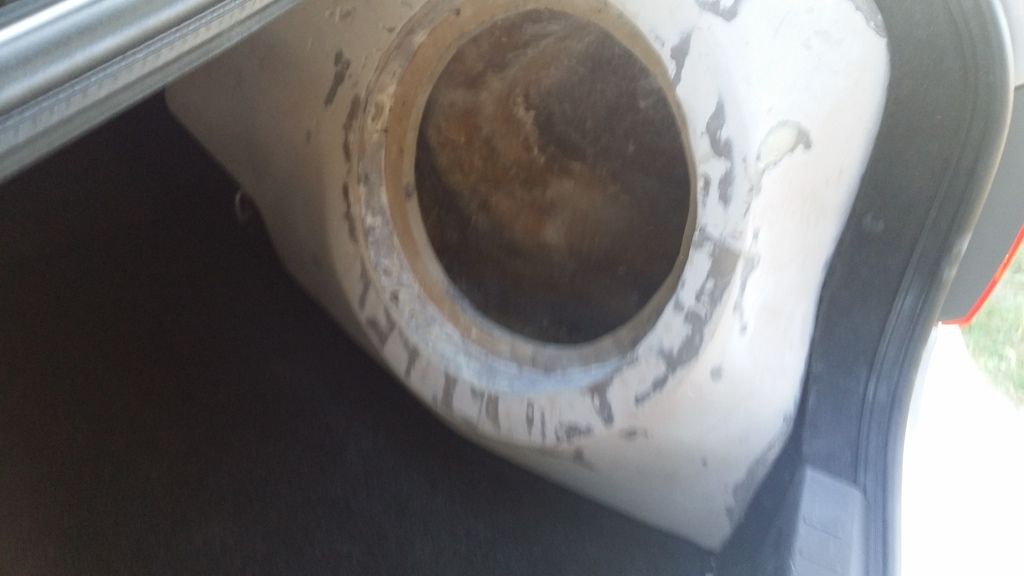
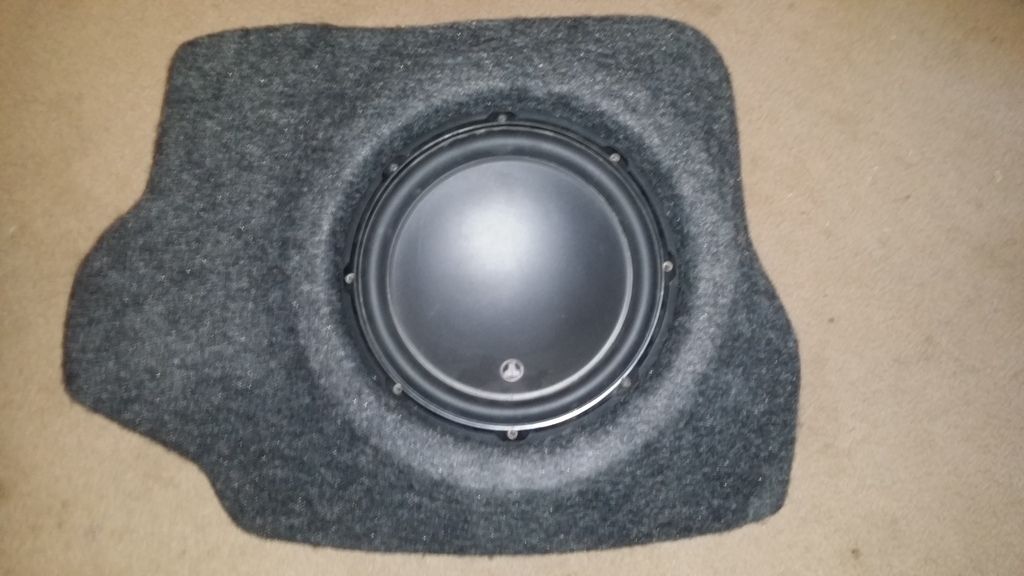
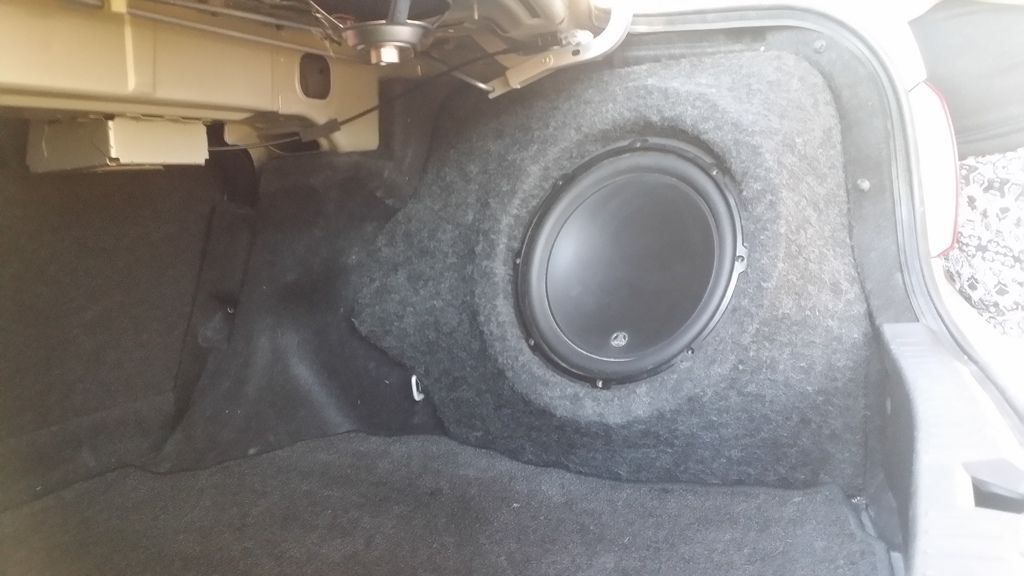
Now it is time to test fit everything in place. Test fit, test fit, test fit. You can never test fit anything too much. In this scenario, our trunk lid bracket closes really close to where the face of the box is going to be. So I test fit a lot of times throughout.
I used to be a professional installer, but I quit to work an IT job and save the energy for my own personal projects. Comments, questions and criticism are welcome. I know that some of us don't care for stereo systems anymore, but I will always have a love for music and good sound quality. Thus, rather than a trunk full of speakers, amps, fiberglass and wood, I intend to have a fully functional trunk with a cleaner, less in your face audio system.
I also no longer have a shop with a nice routing table, and endless supplies. Everything here is done by hand. I used a jigsaw for the baffle holes and a palm sander for the surface. Nothing crazy.
Here is where I started:
This video shows a quick look inside the trunk of the 2010 Corolla. I decided that the pocket in the right hand side is a great fit, and perfect amount of airspace for this sub.
Another peak at that pocket. We will removing that little plastic compartment on the floor and using the line from the carpet to make the shape of the box that will replace it. This way our factory trunk mat can stay, and fit properly.
Then I pulled out the liner from the truck to wrap with tape. This is a 3m masking tape. I prefer the 3m because it is thick, and doesn't leave any residue from the adhesive behind.
A good covering of turtle wax over the tape so that the fiberglass resin doesnt soak through, and doesn't adhere to the tape. This allows the box to pop right back out of the liner when its formed.
Next I created a mockup of placement of parts in the trunk. I used this mockup to create an outline of the edge of the box with a pen. If a good solid line is created, then it will easily show through many layers of fiberglass and allow an easy trim of the finished box.
Here is a raw mold of the first layer. At this time, the molded section can be removed from the trunk panel.
Now it is time to test fit everything in place. Test fit, test fit, test fit. You can never test fit anything too much. In this scenario, our trunk lid bracket closes really close to where the face of the box is going to be. So I test fit a lot of times throughout.


")