Hi all. Fairly new to the forums but thought I'd share a DIY I've been having some fun with lately.
The project came about because I wanted a place to put my phone in the car where it could charge and not rattle around all the time. I know there are clip on style ones available for vents/windscreen but decided to try come up with something a little neater/integrated with the car.
My idea was to integrate a charger and dock into the existing removable cup holder "divider" in the center console. So basically design a new "divider" to hold a phone and charge cable.
Initial concept of how the phone would "sit" within the console
Rough orientation the phone will sit in relation to the divider
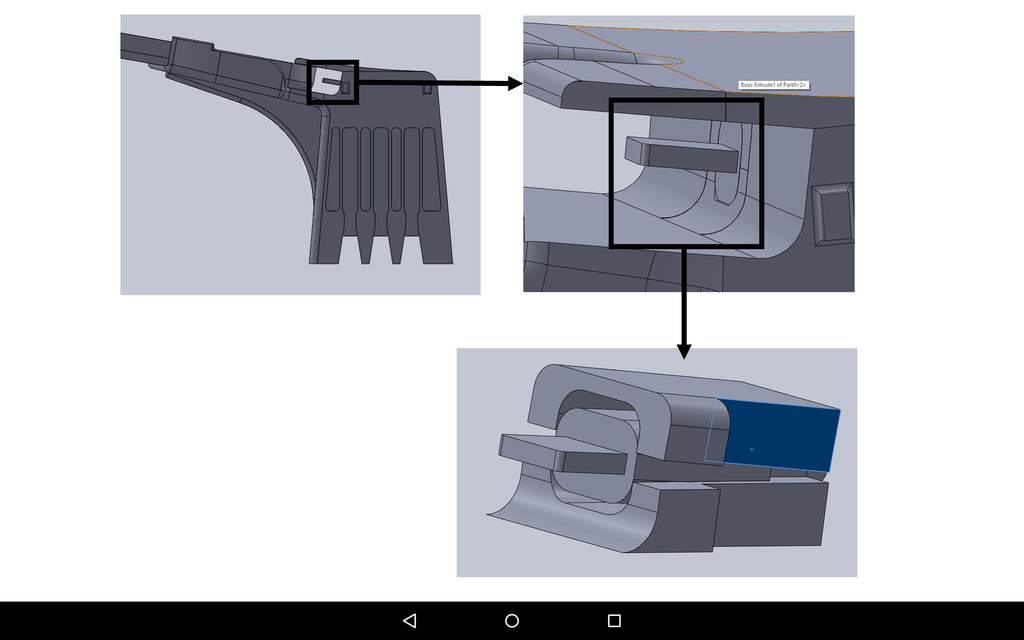
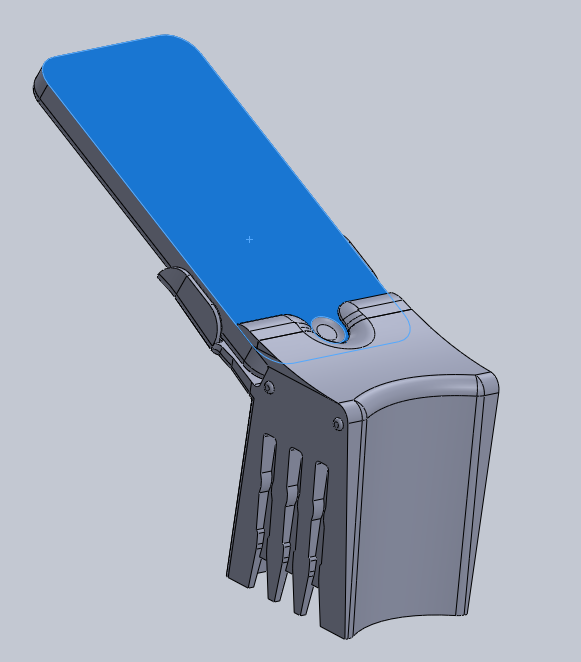
Measured up OEM divider with some calipers, measured up the phone and this is what I came up with! First cut of the design in solid works
You can make out the charging pin below. Integrating it with the dock was a small project in itself!

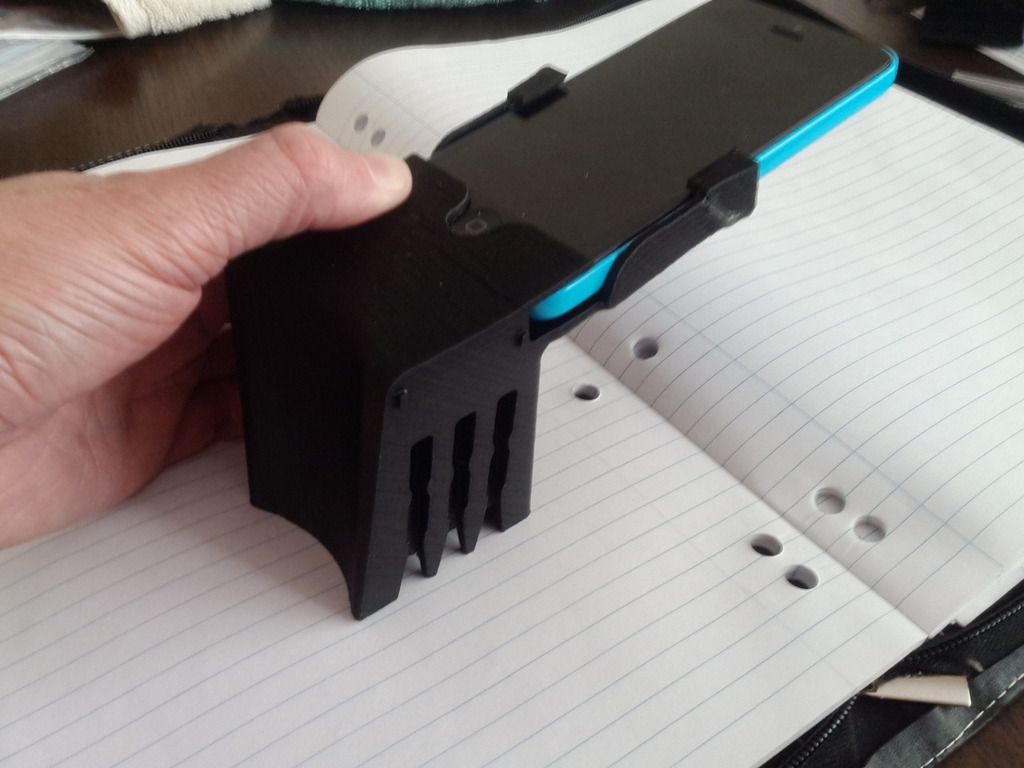
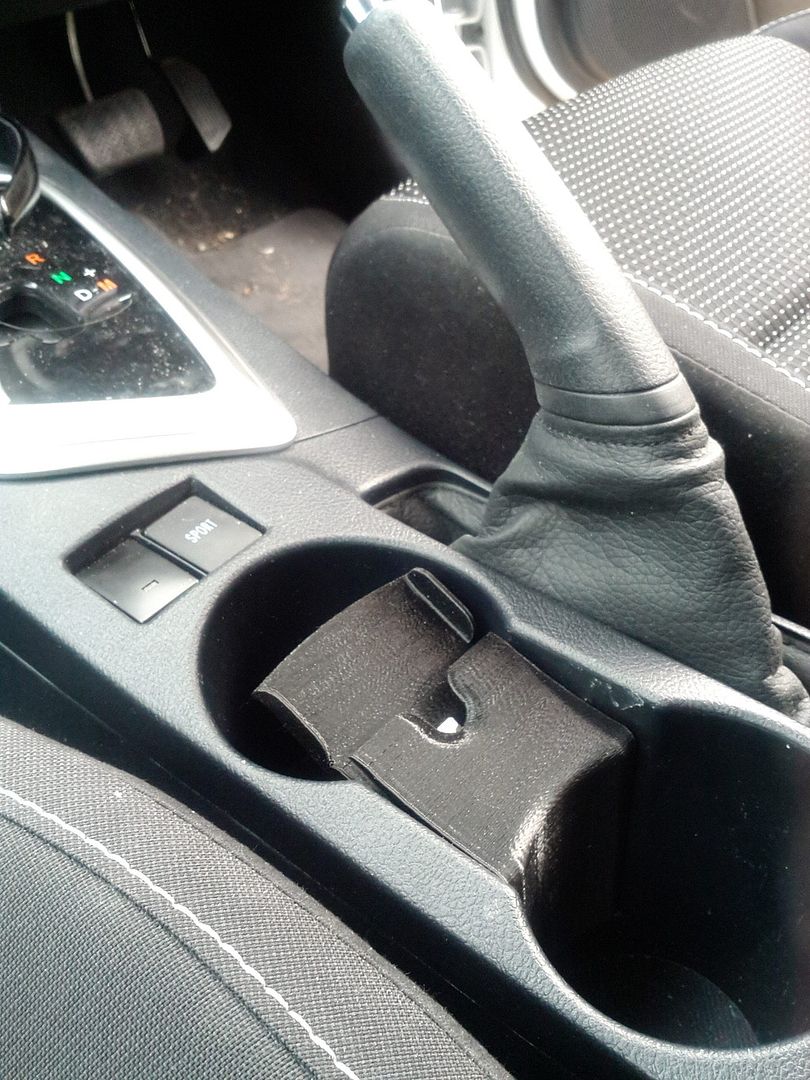
First prototype 3d printed - a few clearance issues which were sorted out in rev 2
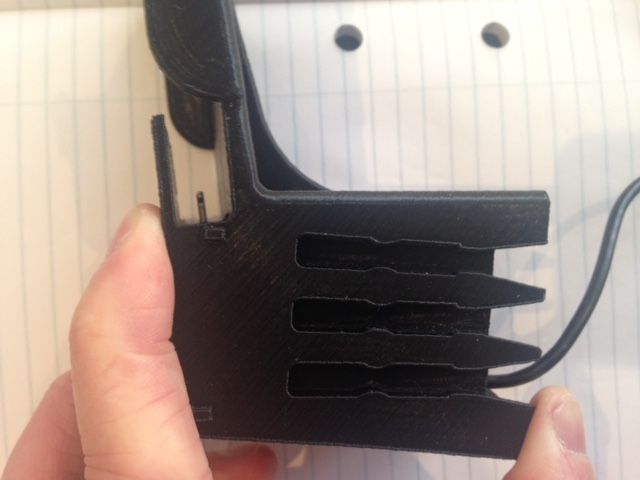
Close-up - you can make out the charging pin. Turned out to be a bit of a challenge to integrate the pin with the main body but got there in the end.
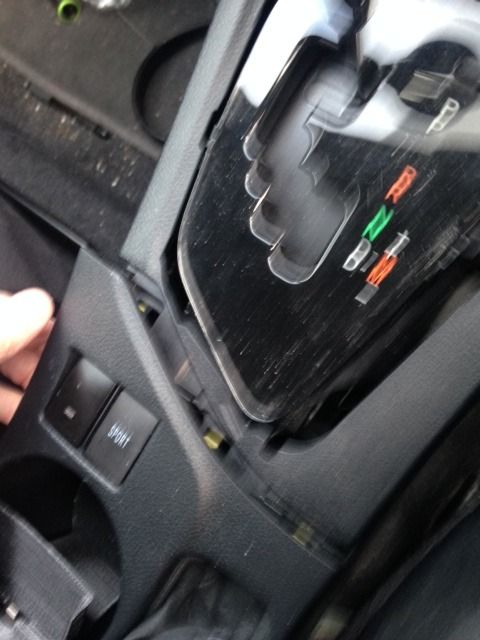
Pulling apart the center console trim to run the wiring. Coming from a euro car I love how easy it is to pull these cars apart!
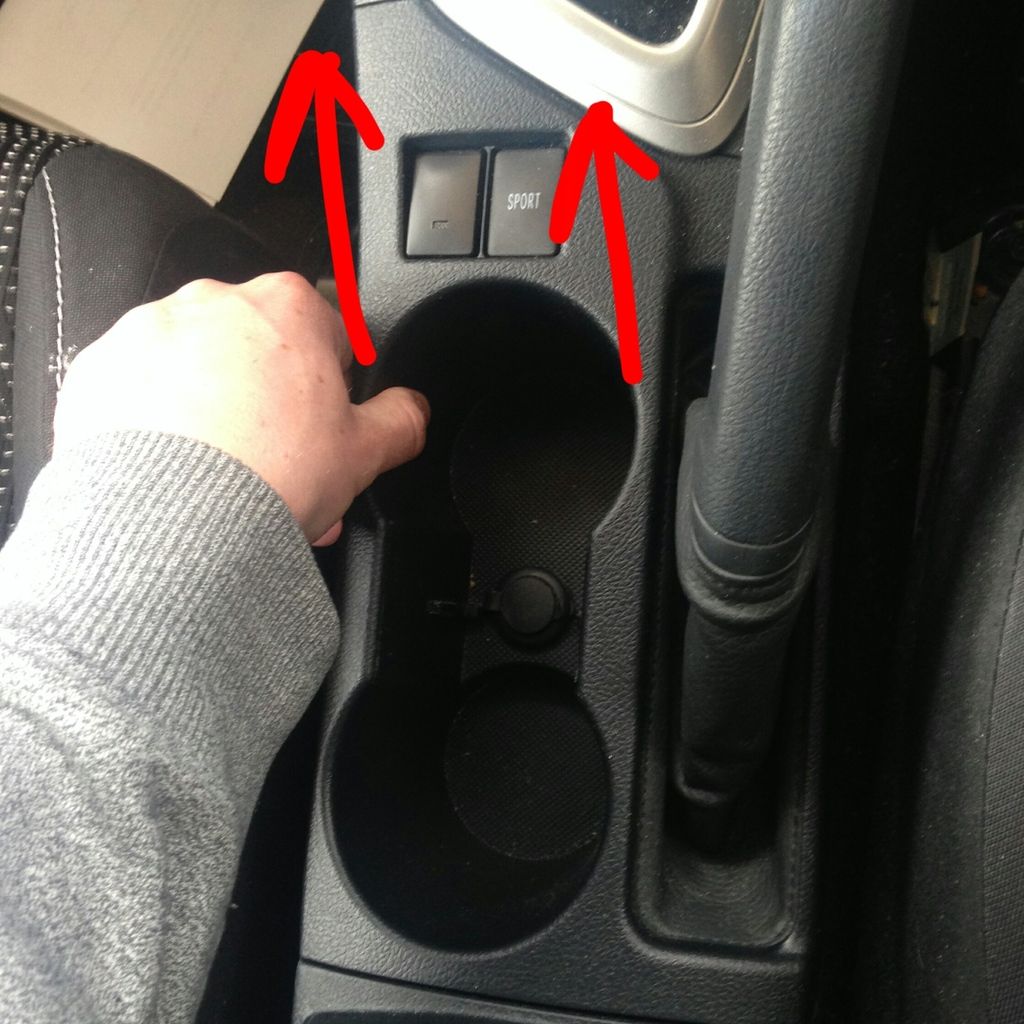
Console trim removed first. Wiring disconnected from switches for ease of access to remaining trim
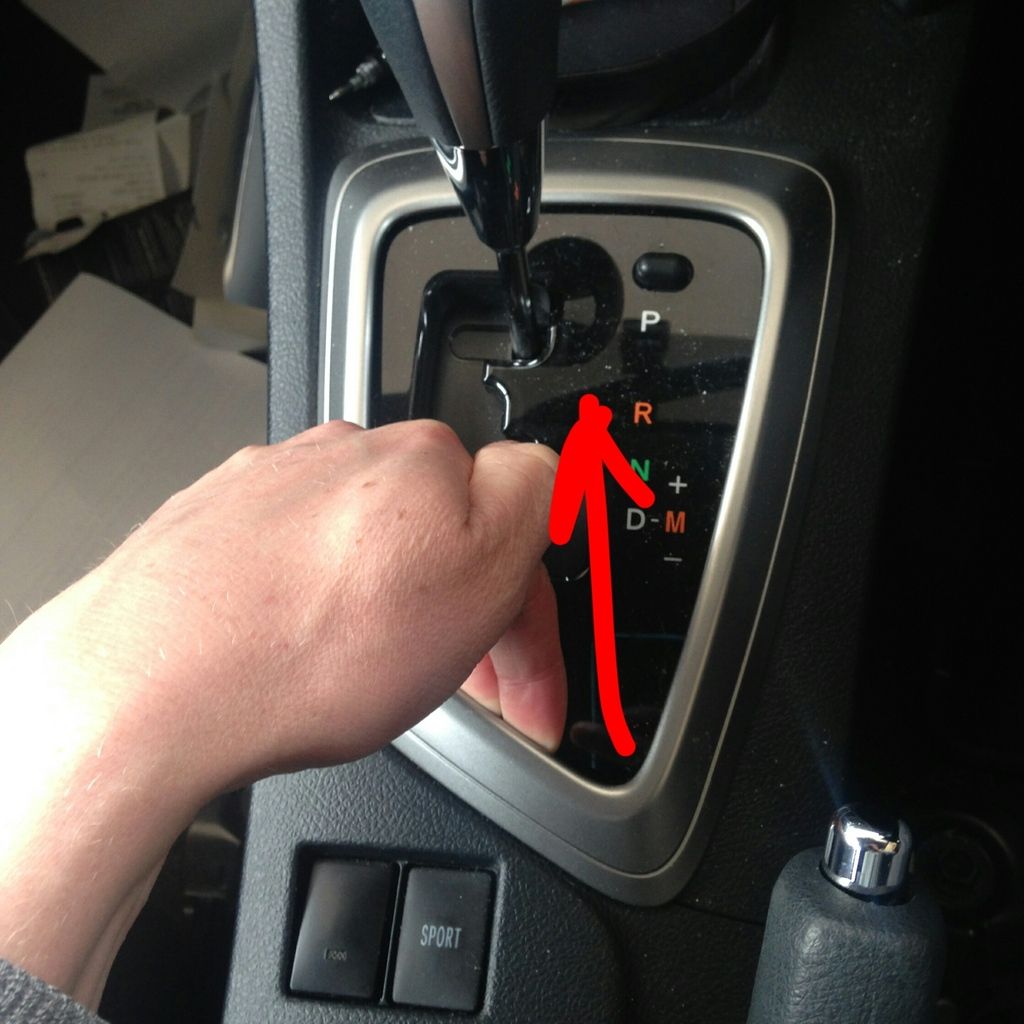
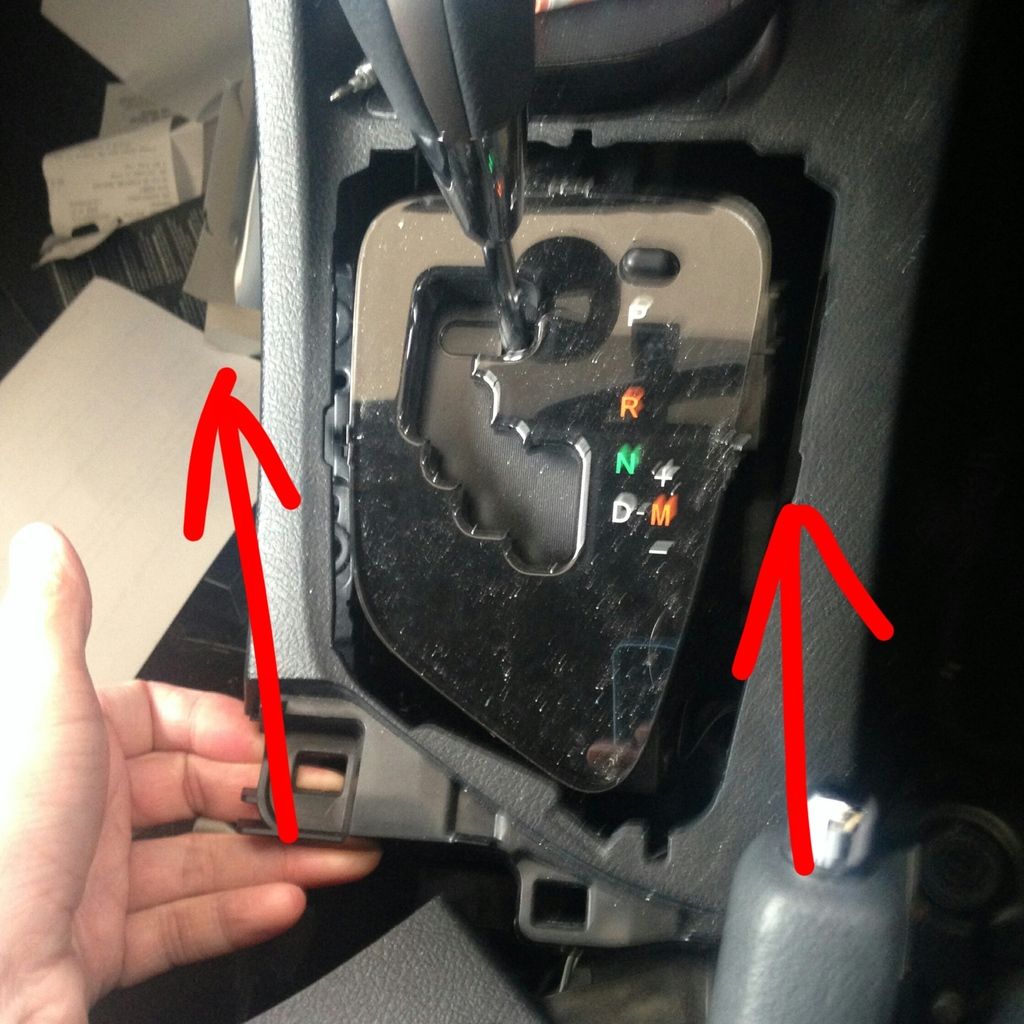
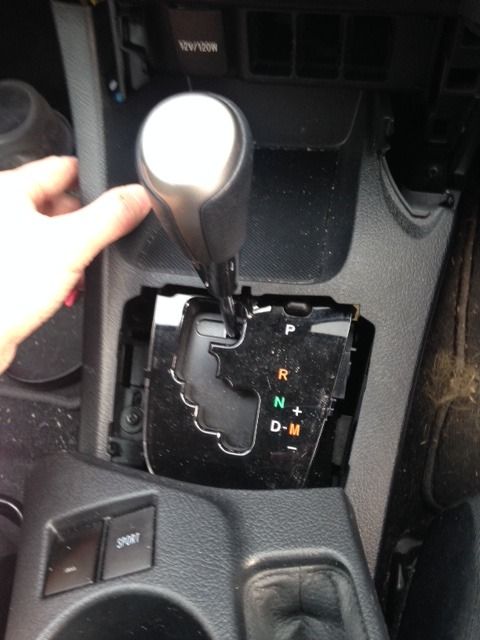
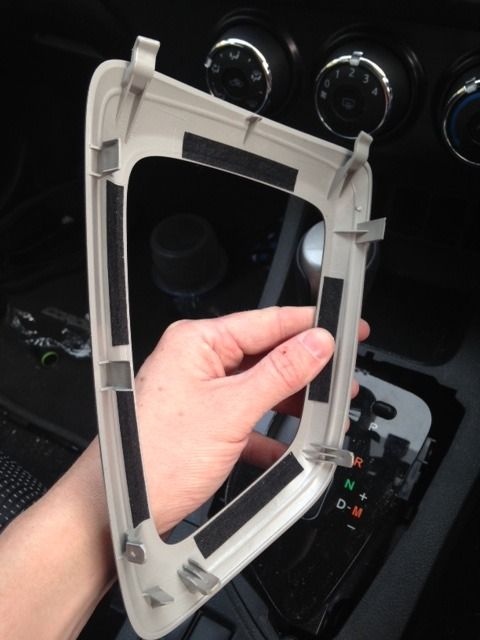
Shifter surround trim removed.
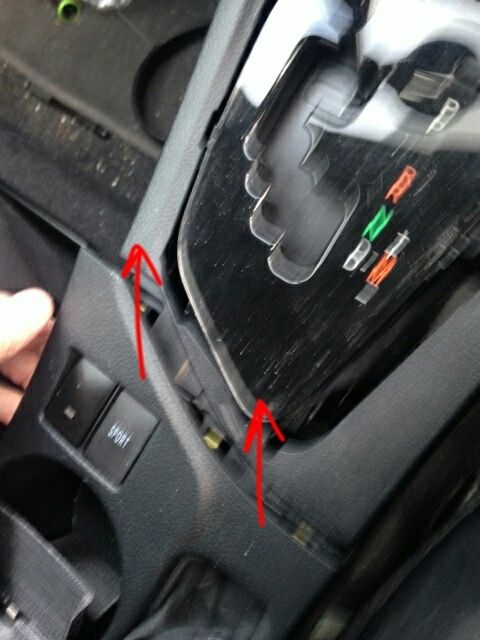
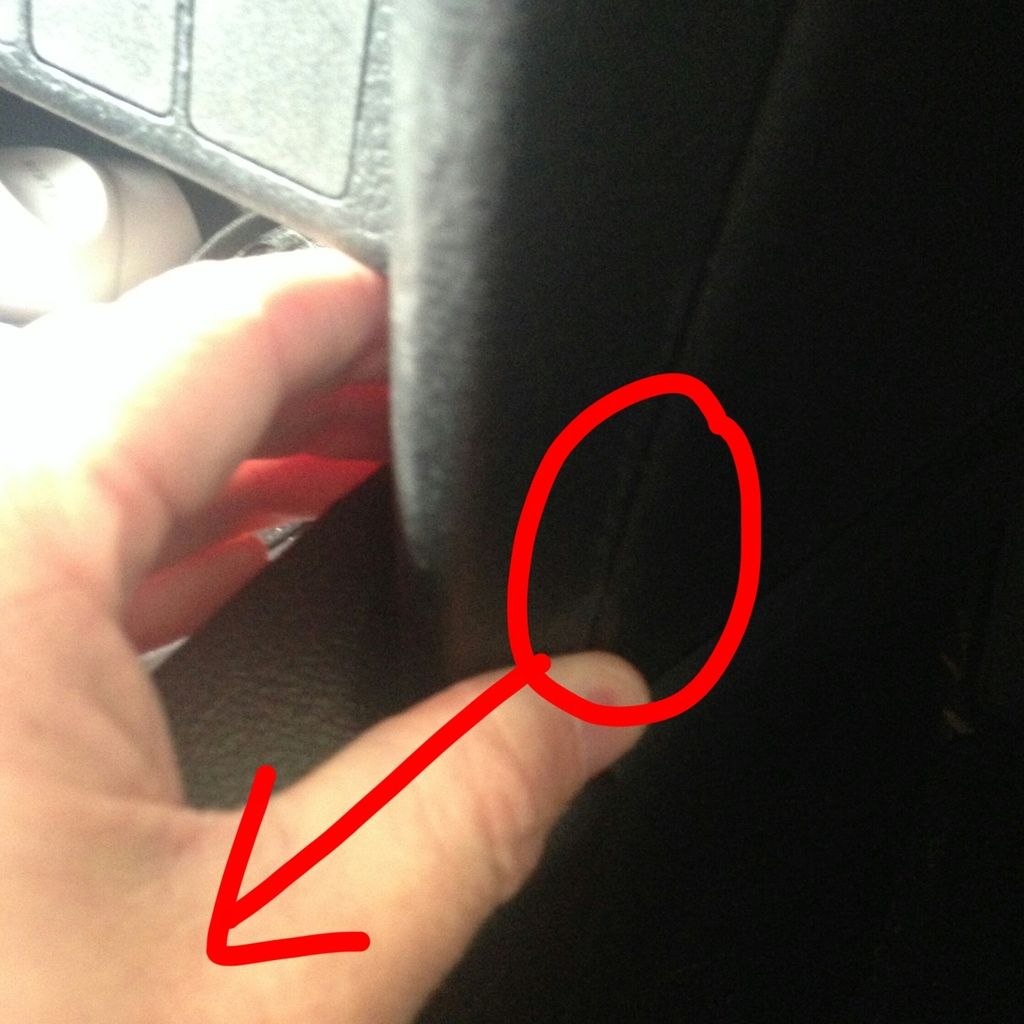
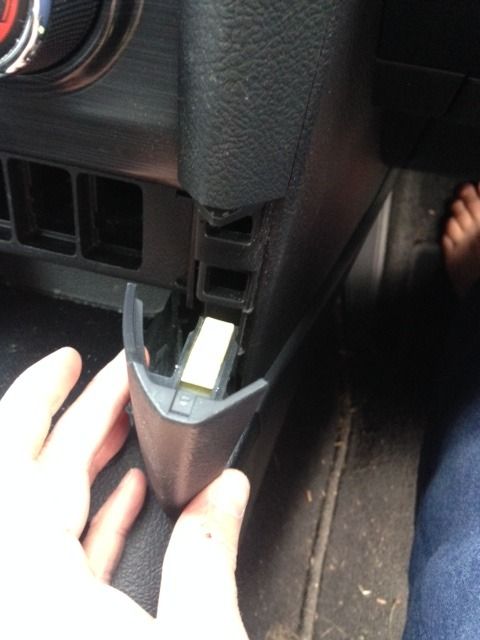
Small piece of trim adjacent to the cigarette lighter removed, required small amount of force
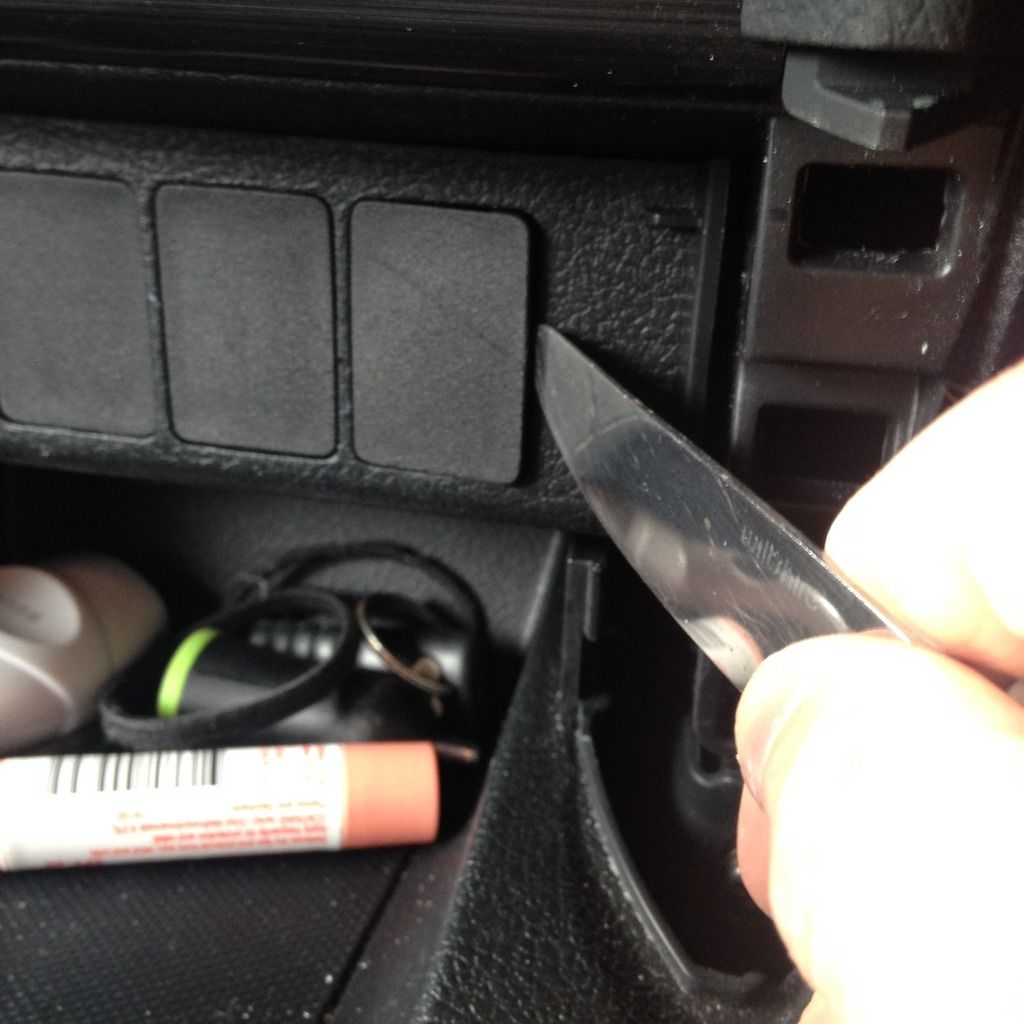
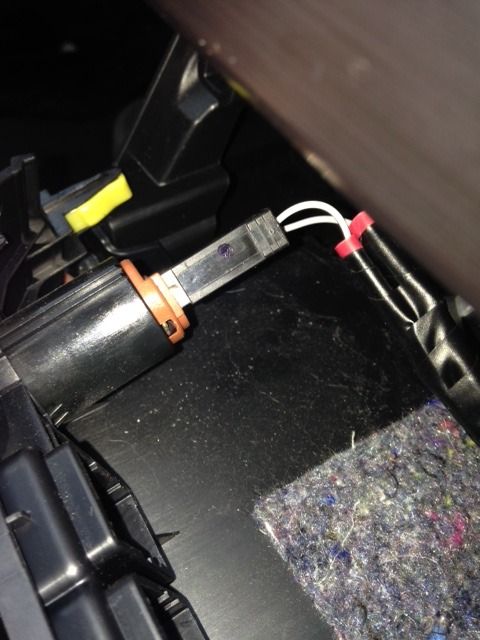
Pulling apart the cigarette lighter trim - this is where we will tap the power from.
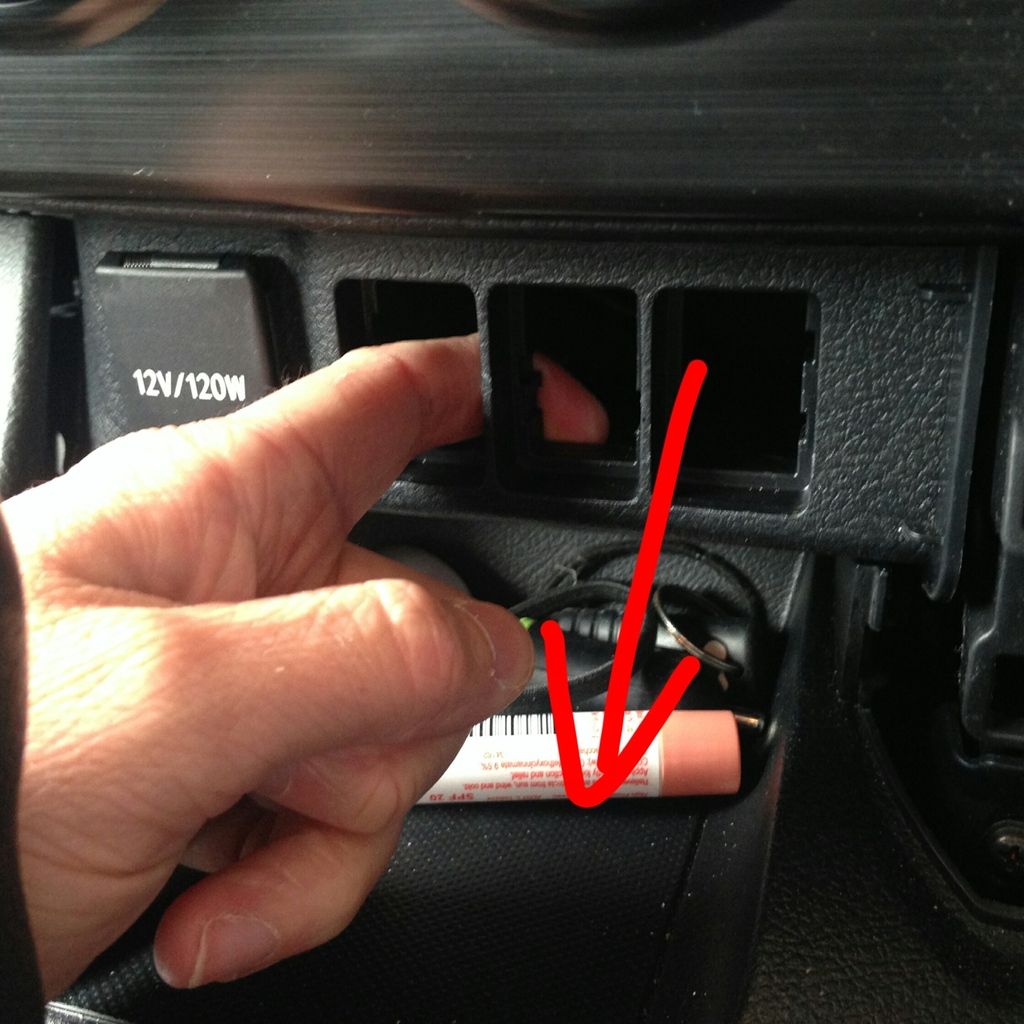
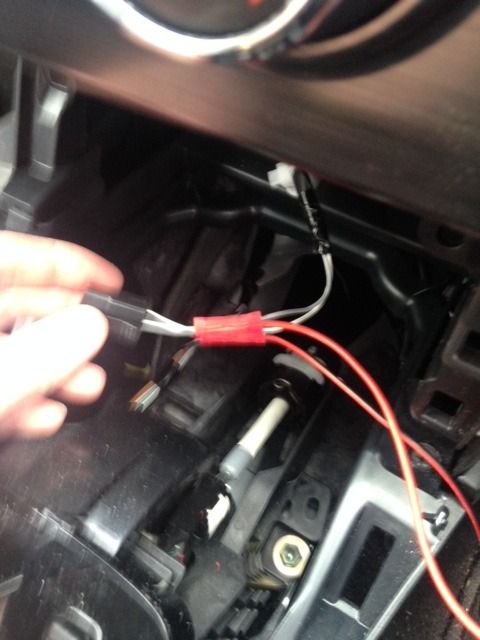
Tapping the cigarette lighter plug
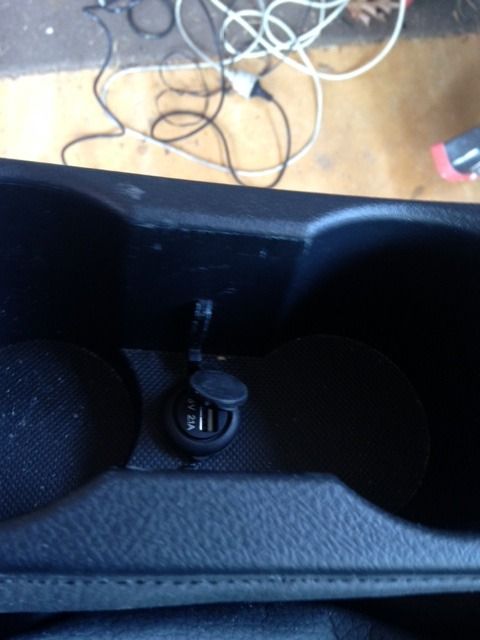
Now for the slightly scary bit - drilling a hole in the console for the USB outlet! A Christmas tree bit is perfect for this kind of thing but unfortunately I didn't have one on hand. Had to physically grind most of it with a dremel - didn't have any drill bits large enough.
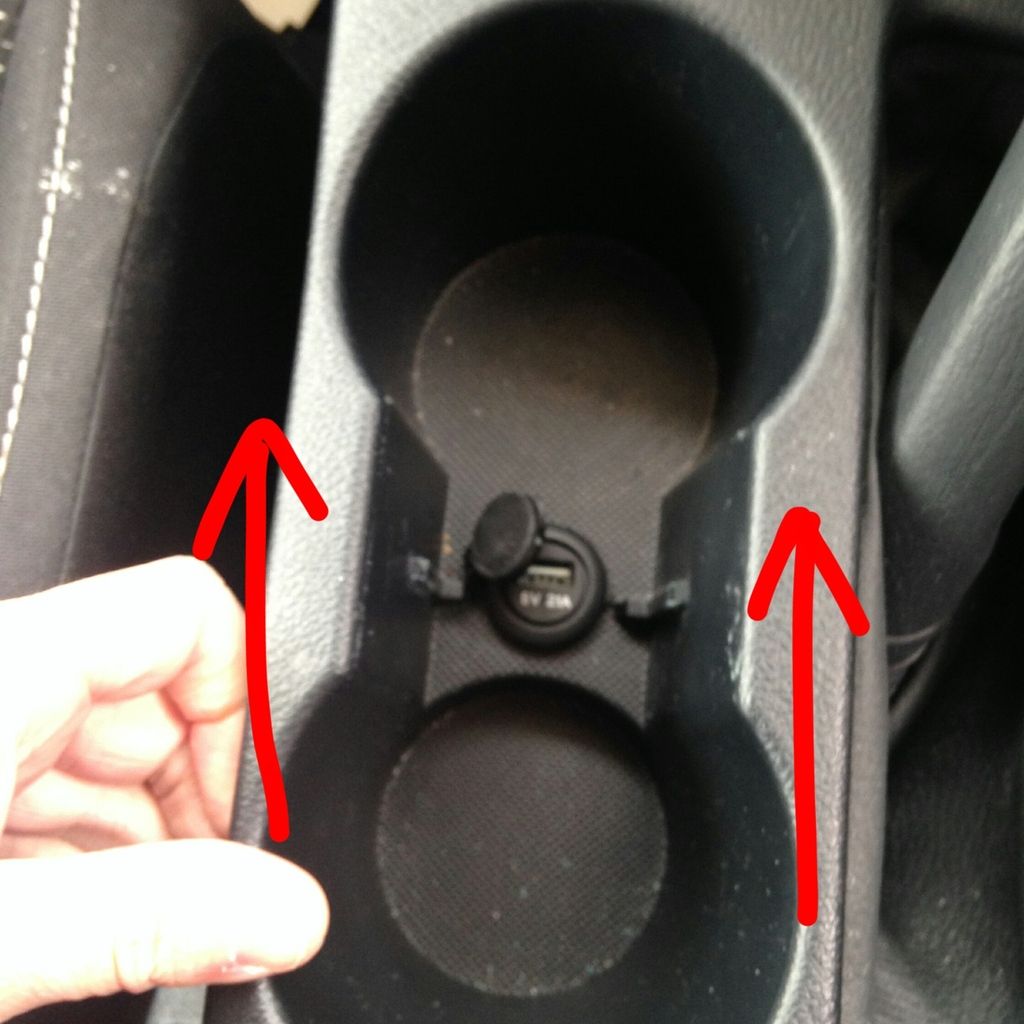
Usb outlet installed directly underneath "divider" to keep out of view.
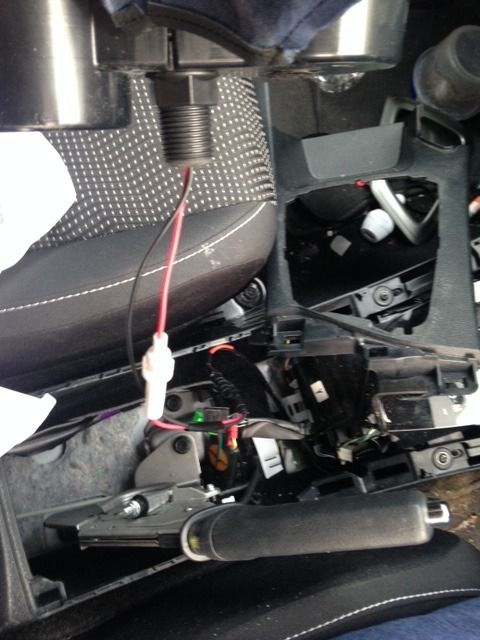
All wired up. Inline fuse installed b/w USB and lighter also. I routed the wiring to the right of the shifter and followed the path of the OEM wiring with a few zip ties. All in all pretty easy
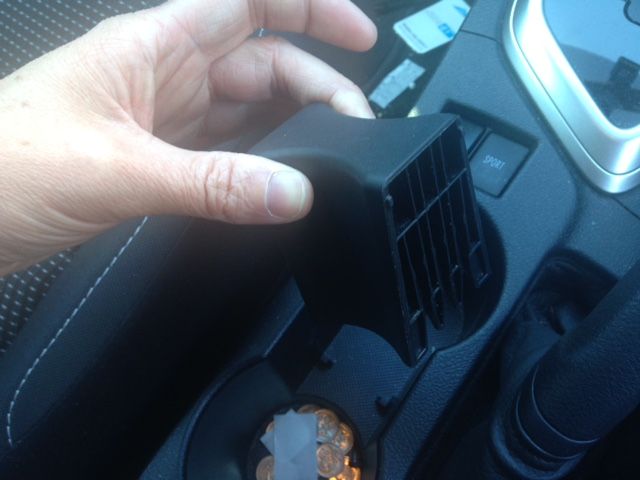
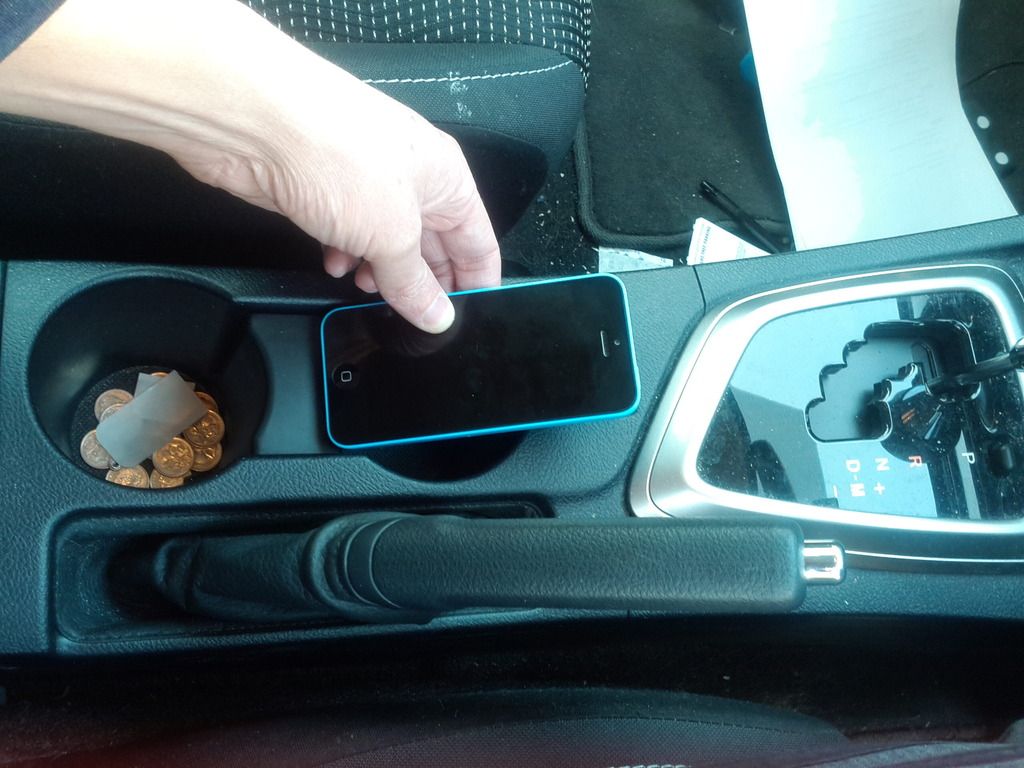
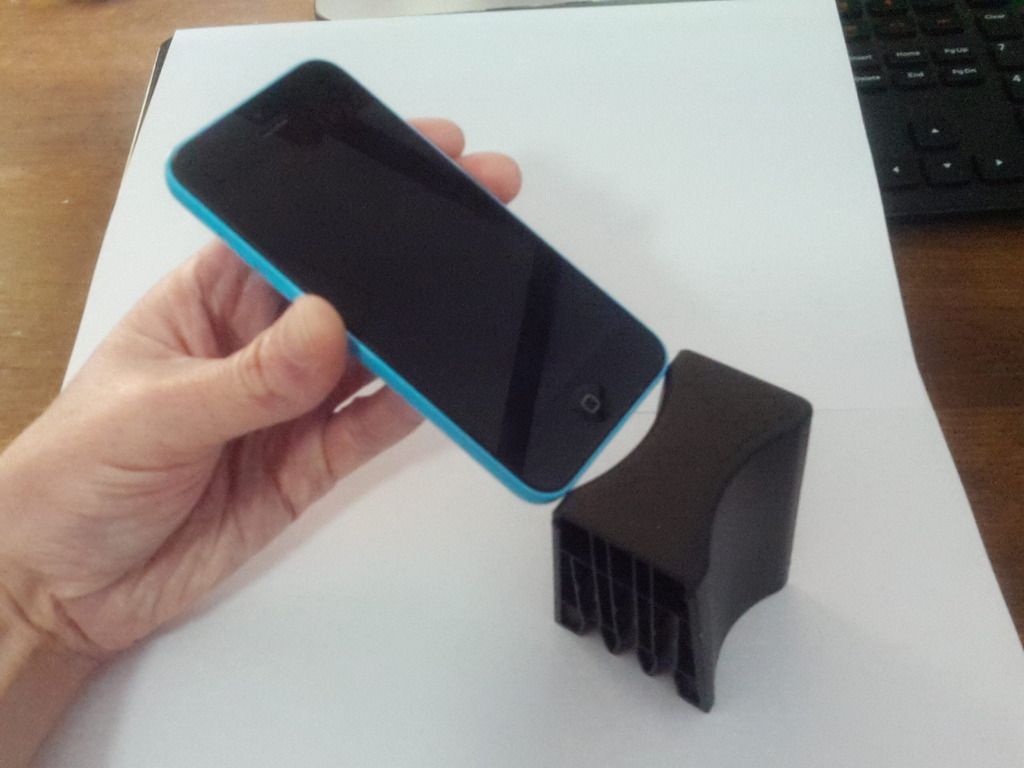
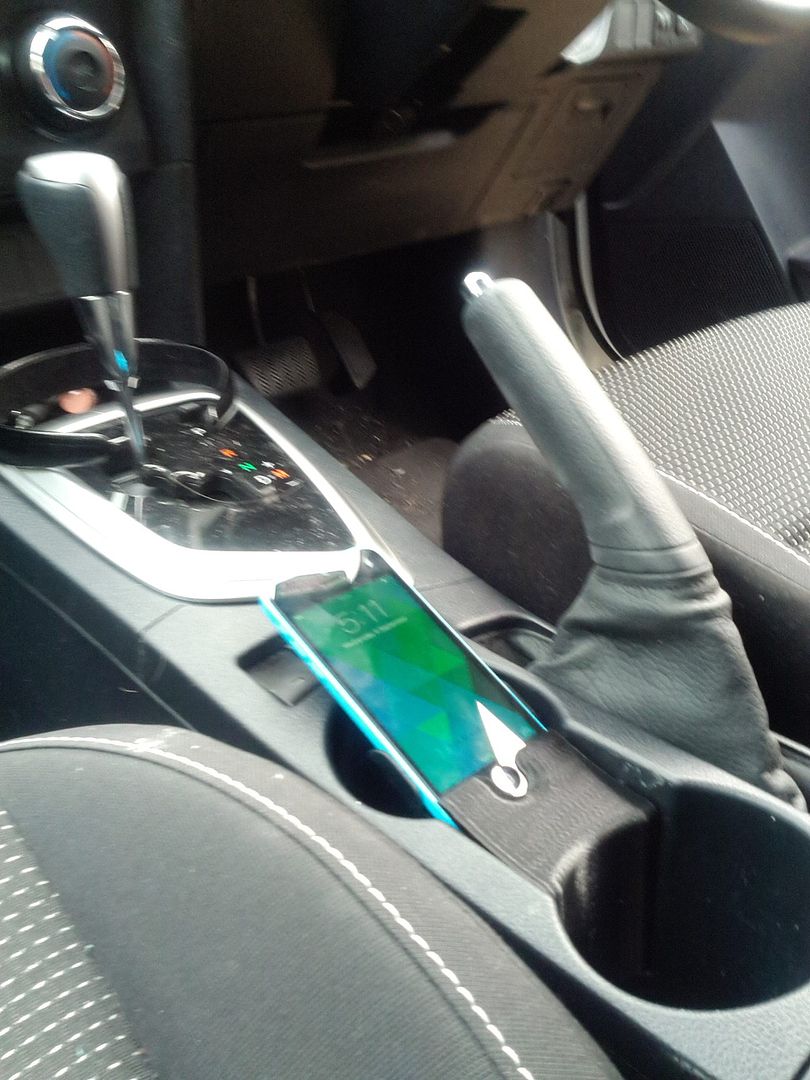
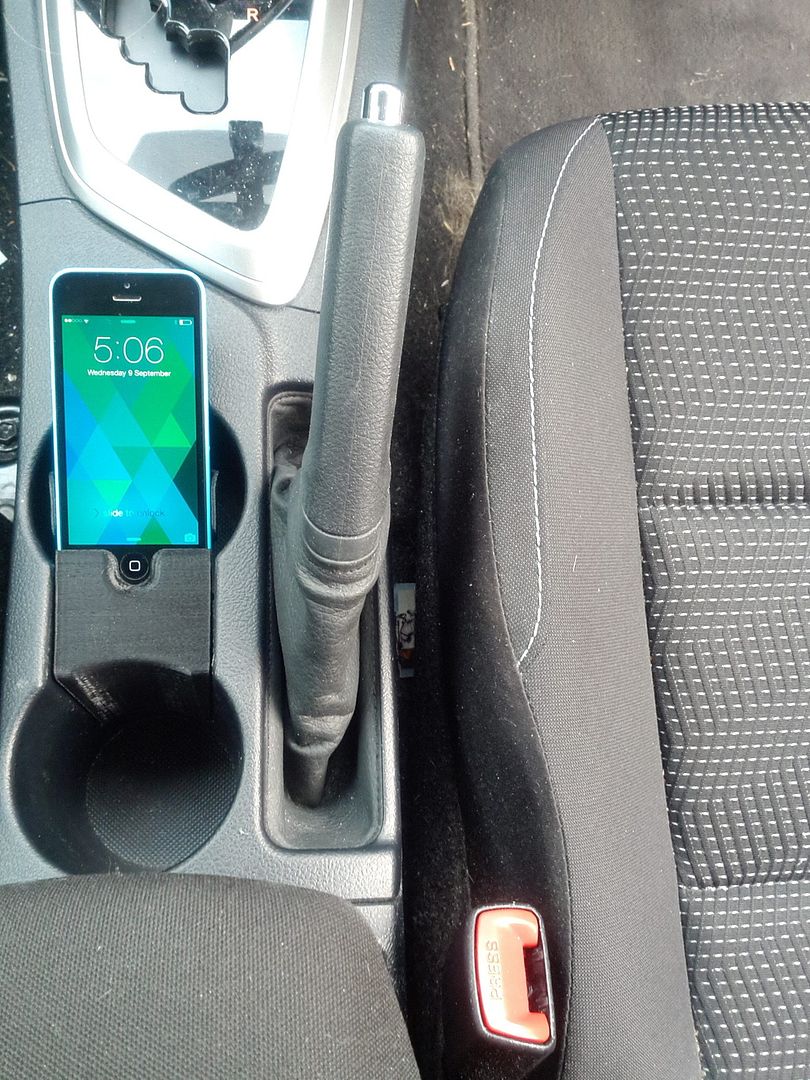
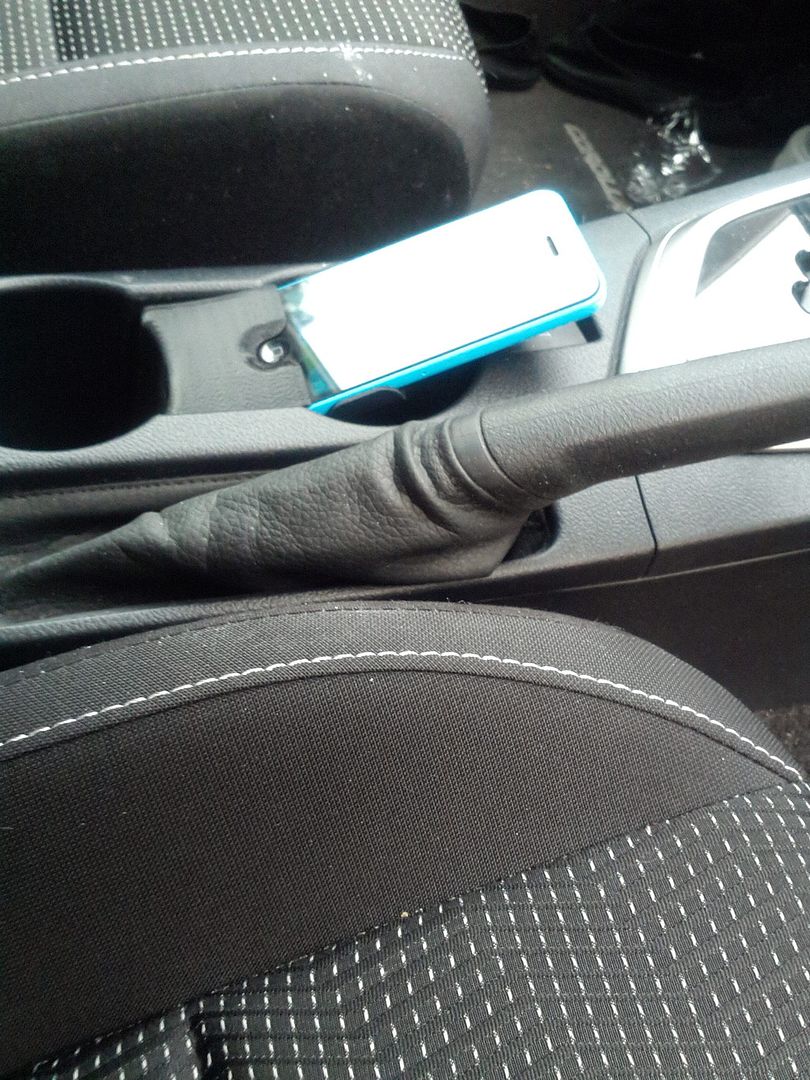
And done! I'm relatively happy with the results. Nice easy place to put the phone without it getting in the way of anything and looks OEMish. The show unit can be disconnected easily for future removal, basically goes in/out the same as the OEM divider. The only issue is its printed out of pla which get soft around 50 deg, quite likely to be a summer issue! Will see how it goes anyway - I can always get it reprinted in ABS which has a much higher heat resistance. Enjoy!
The project came about because I wanted a place to put my phone in the car where it could charge and not rattle around all the time. I know there are clip on style ones available for vents/windscreen but decided to try come up with something a little neater/integrated with the car.
My idea was to integrate a charger and dock into the existing removable cup holder "divider" in the center console. So basically design a new "divider" to hold a phone and charge cable.
Initial concept of how the phone would "sit" within the console
Rough orientation the phone will sit in relation to the divider
Measured up OEM divider with some calipers, measured up the phone and this is what I came up with! First cut of the design in solid works
You can make out the charging pin below. Integrating it with the dock was a small project in itself!
First prototype 3d printed - a few clearance issues which were sorted out in rev 2
Close-up - you can make out the charging pin. Turned out to be a bit of a challenge to integrate the pin with the main body but got there in the end.
Pulling apart the center console trim to run the wiring. Coming from a euro car I love how easy it is to pull these cars apart!
Console trim removed first. Wiring disconnected from switches for ease of access to remaining trim
Shifter surround trim removed.
Small piece of trim adjacent to the cigarette lighter removed, required small amount of force
Pulling apart the cigarette lighter trim - this is where we will tap the power from.
Tapping the cigarette lighter plug
Now for the slightly scary bit - drilling a hole in the console for the USB outlet! A Christmas tree bit is perfect for this kind of thing but unfortunately I didn't have one on hand. Had to physically grind most of it with a dremel - didn't have any drill bits large enough.
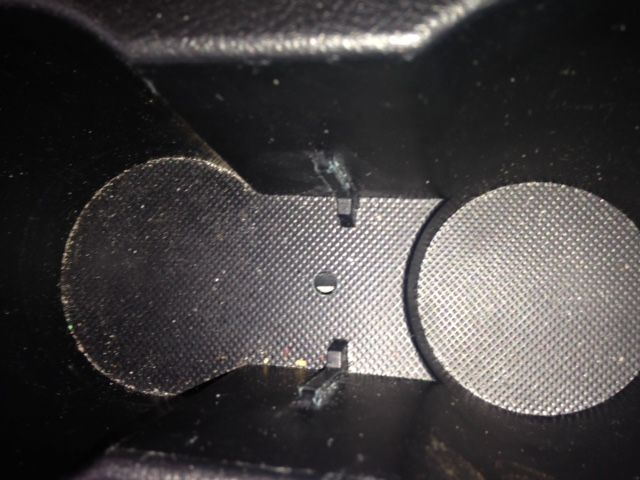
Usb outlet installed directly underneath "divider" to keep out of view.
All wired up. Inline fuse installed b/w USB and lighter also. I routed the wiring to the right of the shifter and followed the path of the OEM wiring with a few zip ties. All in all pretty easy
And done! I'm relatively happy with the results. Nice easy place to put the phone without it getting in the way of anything and looks OEMish. The show unit can be disconnected easily for future removal, basically goes in/out the same as the OEM divider. The only issue is its printed out of pla which get soft around 50 deg, quite likely to be a summer issue! Will see how it goes anyway - I can always get it reprinted in ABS which has a much higher heat resistance. Enjoy!