Hey guys!
A few months ago I made custom mirror LED turn signals and took pictures of the process. Now I'm finally taking the time to post all of it haha.
I will continue this post in replies/comments due to the photo limit.
Here's how it's done!
Parts:
Waterproof connectors:
https://www.amazon.com/gp/product/B01A6LTK44/ref=oh_aui_detailpage_o04_s00?ie=UTF8&psc=1
Motorcycle Turn Signal LED Strips:
https://www.amazon.com/gp/product/B0179FOLOY/ref=oh_aui_detailpage_o07_s00?ie=UTF8&psc=1
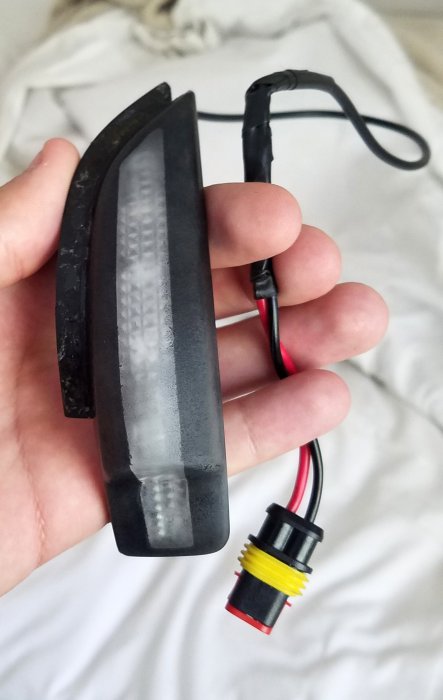
Prepare the LED strip:
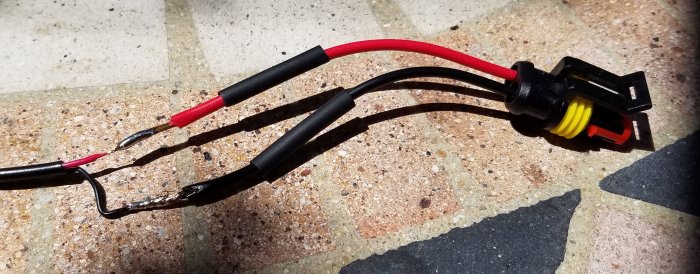
Wrap electrical tape around the base of the LED strip to help add some extra strength and water resistance. Cut the wires on the LED strip to the length you need, and then solder on one side of the waterproof connector.
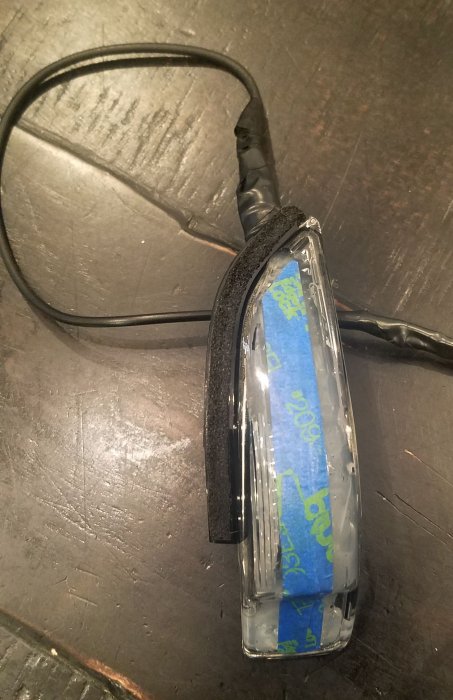
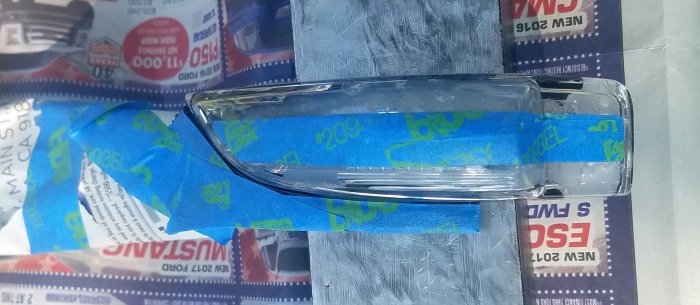
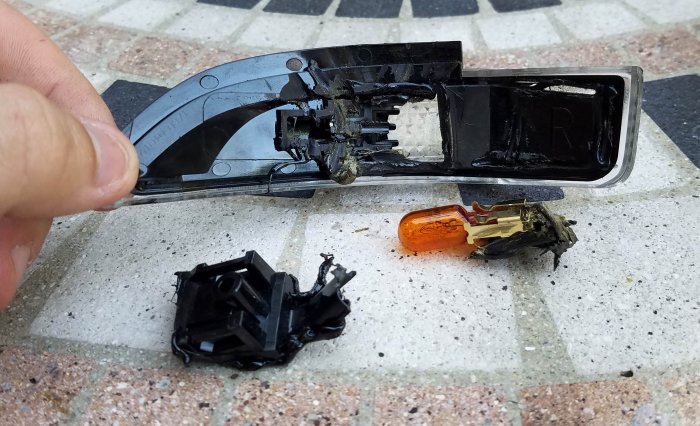
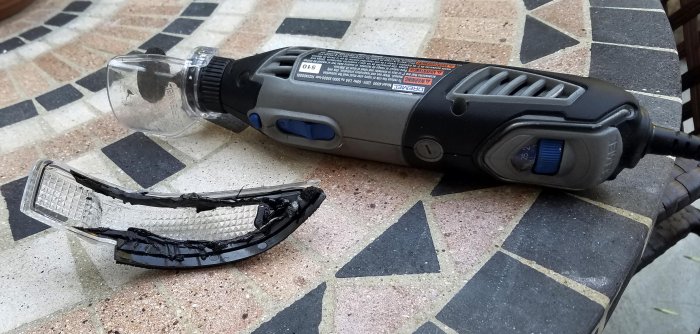
Prepare the light housing:
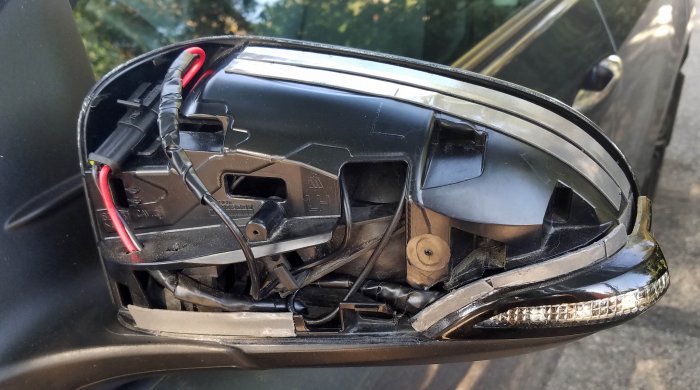
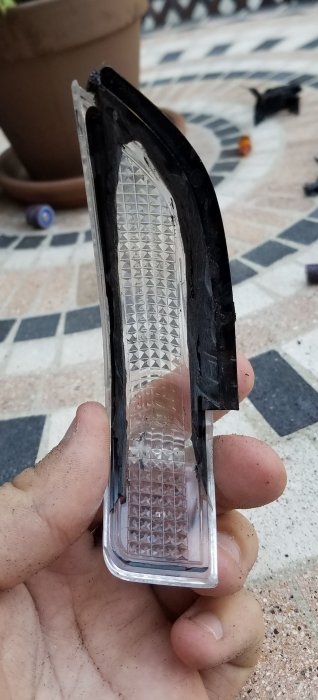
Use a dremel to carefully cut the back part of the OEM light housing off. You want almost all of the black plastic to be gone. Not quite all of it, but most. See the pictures. Then sand the rough parts down to clean it all up.

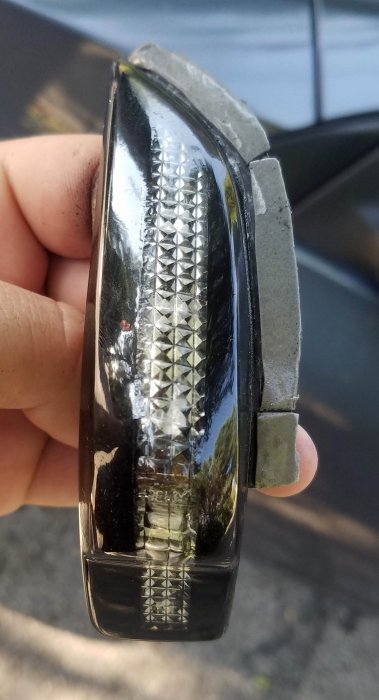
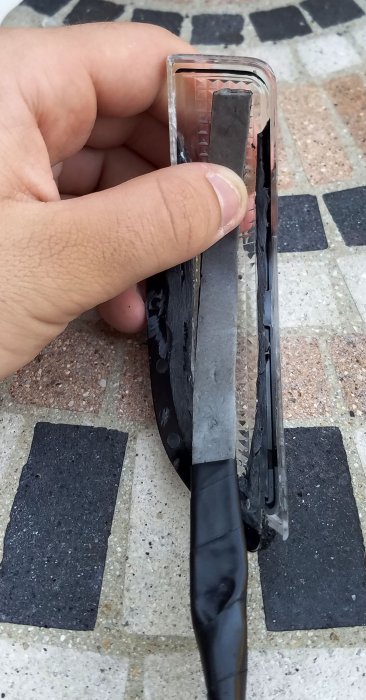
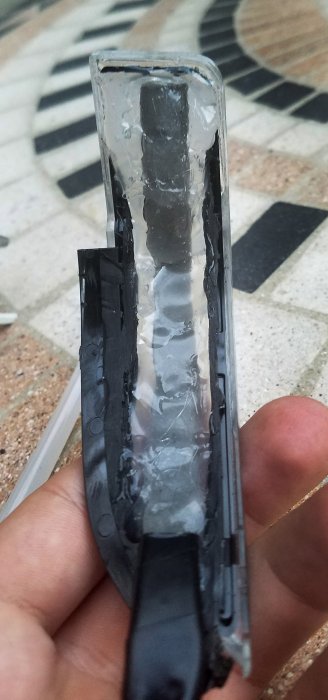
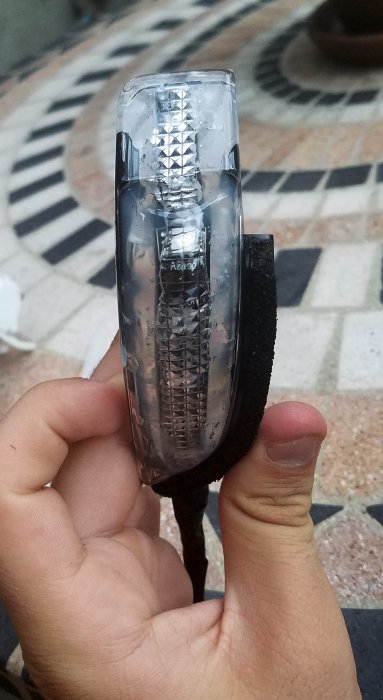
Now, firmly hold the LED strip down along the center of the housing. Be absolutely sure that there is no room between the LED strip and the housing. It must be flush. Also be sure that the wire end of the LED strip is facing the curved side of the housing which at first may seem counter-intuitive. When you are happy with the placement, begin adding hot glue to the housing. Keep holding the LED strip down against the housing as the glue cools and hardens, moving back slowly until the entire strip is glued down. Then add extra glue for better water resistance and to hold it in better. I know it looks bad at this point. We'll change that soon.
I will continue this post in a reply/comment!
A few months ago I made custom mirror LED turn signals and took pictures of the process. Now I'm finally taking the time to post all of it haha.
I will continue this post in replies/comments due to the photo limit.
Here's how it's done!
Parts:
Waterproof connectors:
https://www.amazon.com/gp/product/B01A6LTK44/ref=oh_aui_detailpage_o04_s00?ie=UTF8&psc=1
Motorcycle Turn Signal LED Strips:
https://www.amazon.com/gp/product/B0179FOLOY/ref=oh_aui_detailpage_o07_s00?ie=UTF8&psc=1
Prepare the LED strip:
Wrap electrical tape around the base of the LED strip to help add some extra strength and water resistance. Cut the wires on the LED strip to the length you need, and then solder on one side of the waterproof connector.
Prepare the light housing:
Use a dremel to carefully cut the back part of the OEM light housing off. You want almost all of the black plastic to be gone. Not quite all of it, but most. See the pictures. Then sand the rough parts down to clean it all up.
Now, firmly hold the LED strip down along the center of the housing. Be absolutely sure that there is no room between the LED strip and the housing. It must be flush. Also be sure that the wire end of the LED strip is facing the curved side of the housing which at first may seem counter-intuitive. When you are happy with the placement, begin adding hot glue to the housing. Keep holding the LED strip down against the housing as the glue cools and hardens, moving back slowly until the entire strip is glued down. Then add extra glue for better water resistance and to hold it in better. I know it looks bad at this point. We'll change that soon.
I will continue this post in a reply/comment!