
Hello all. Working on replacing the stock shift boot with something, well, superior. The shift boot and e-brake boot are available from Redline Goods.
I have included a walkthrough for those who would like to try this as well.
First things first. I hold no responsibility if you try this and fail, get hurt, break something, etc.
Tools needed:
flat head screwdriver
snap ring pliers
confidence
maybe an adult beverage
a pick or hook
Stapler
Estimate Time:
Eh roughly 2 hours. I had to take pictures and write this write up so it took about that much time from start to finish.
Removal
First Step:
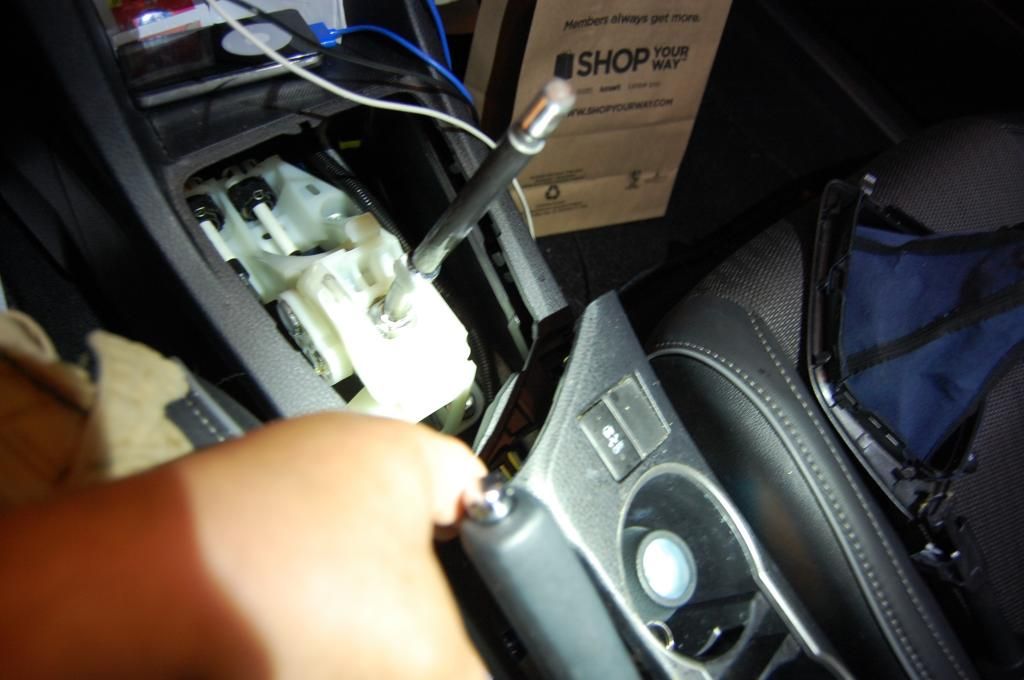
It would be wise to pop off the snap ring for the reverse lock-out mechanism first. This is pretty straight forward. You just want to spread the ring so that you can take off the spring and washer for the lock-out. Be careful when you are pulling the snap ring off, you wouldn't want to lose it. The spring isn't too powerful but I recommend holding the black washer down while you finagle the snap ring. Once those components are out I would just put them aside in a tray for a bit. On to the next step!
Next Step:
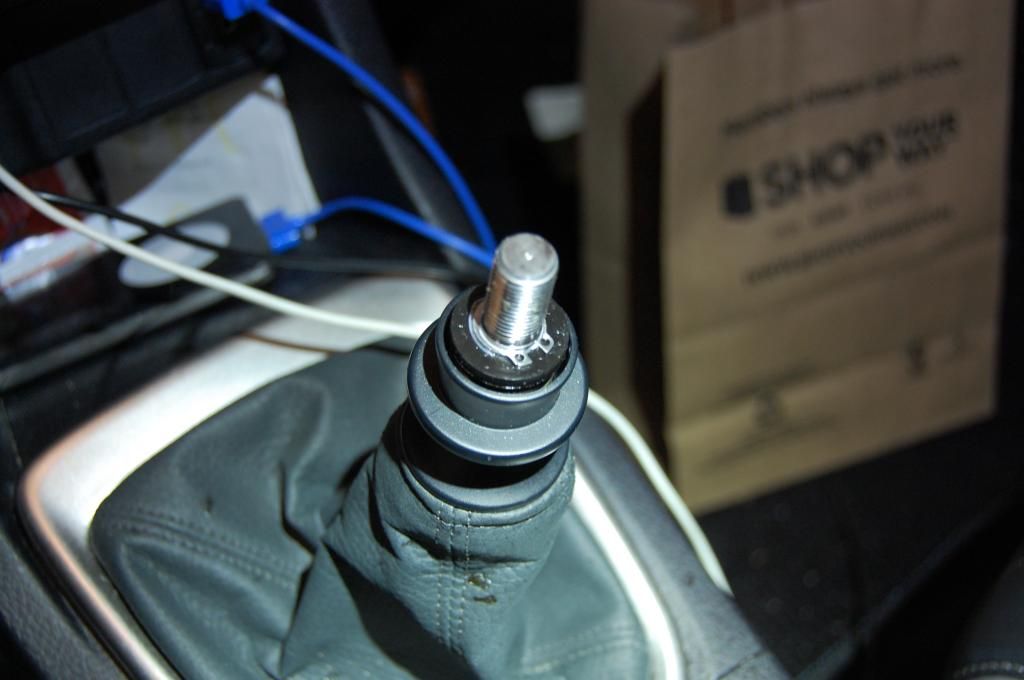
You need to pop the silver trim ring off. It is very simple to do. Just take your screwdriver and start at the lower left hand section of the ring. Slide it under and pop it up. Then work your way to the right. I used electrical tape on the tip just to prevent scratches. After a few pops it should just come right out.
The Next Step:
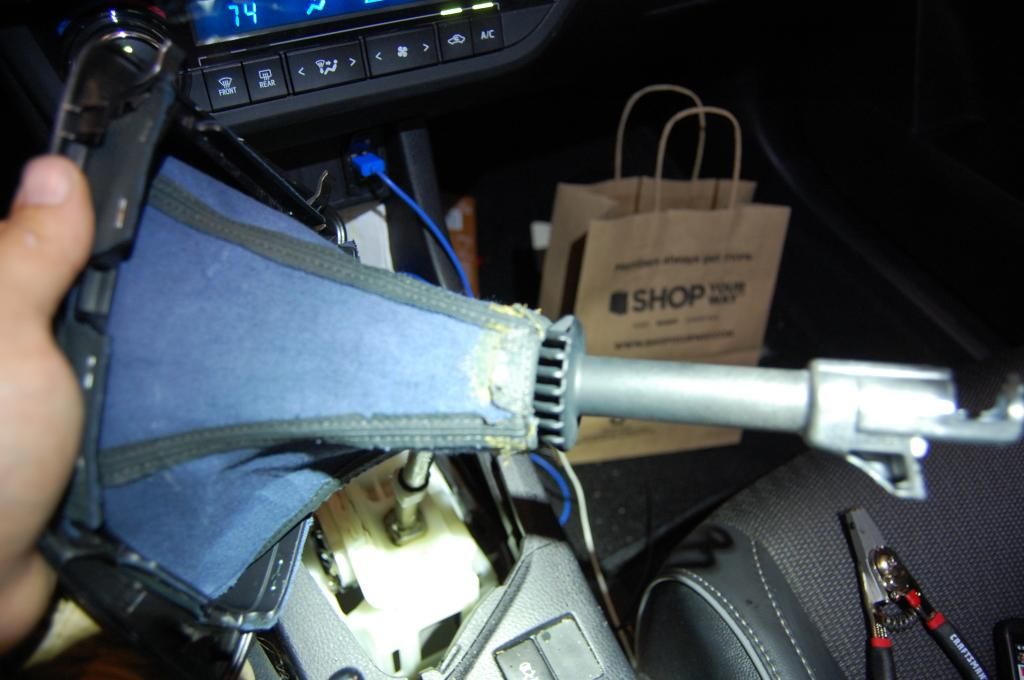
Is to separate the boot from the Reverse lock-out. It is really simple, you just pull the boot and lock-out plastic thing apart. Best method is to invert the boot and pull that way.
Fourth Step:
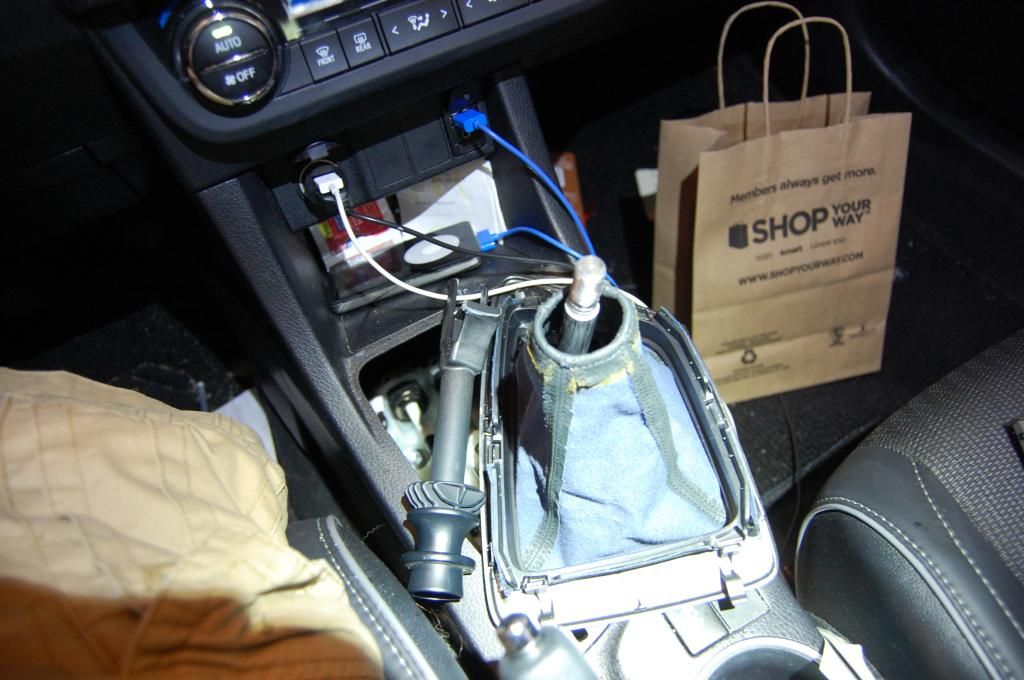
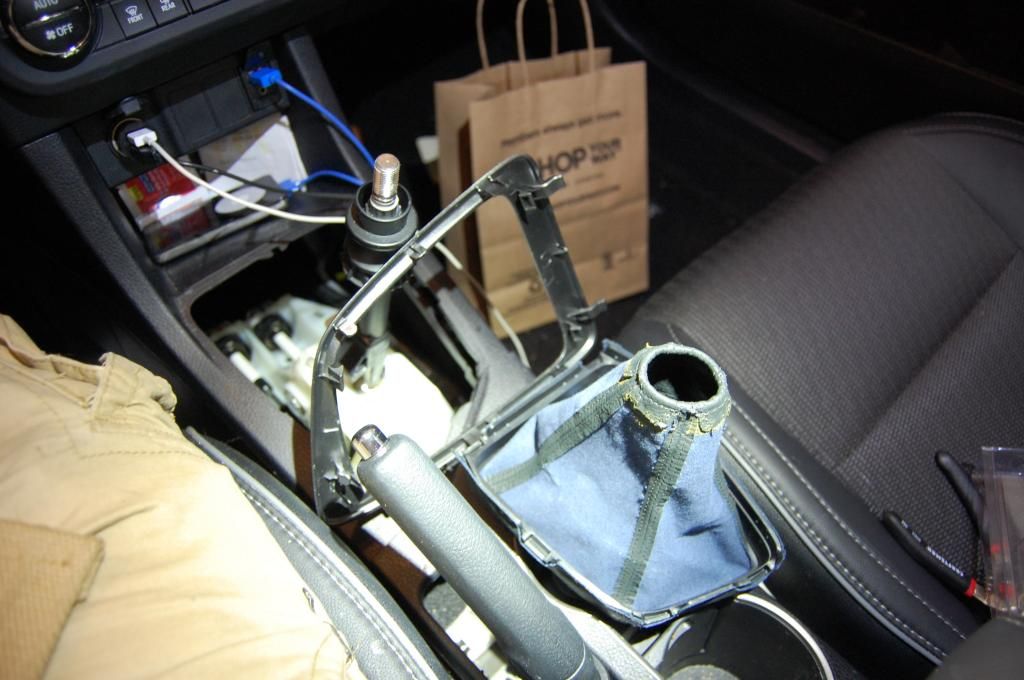
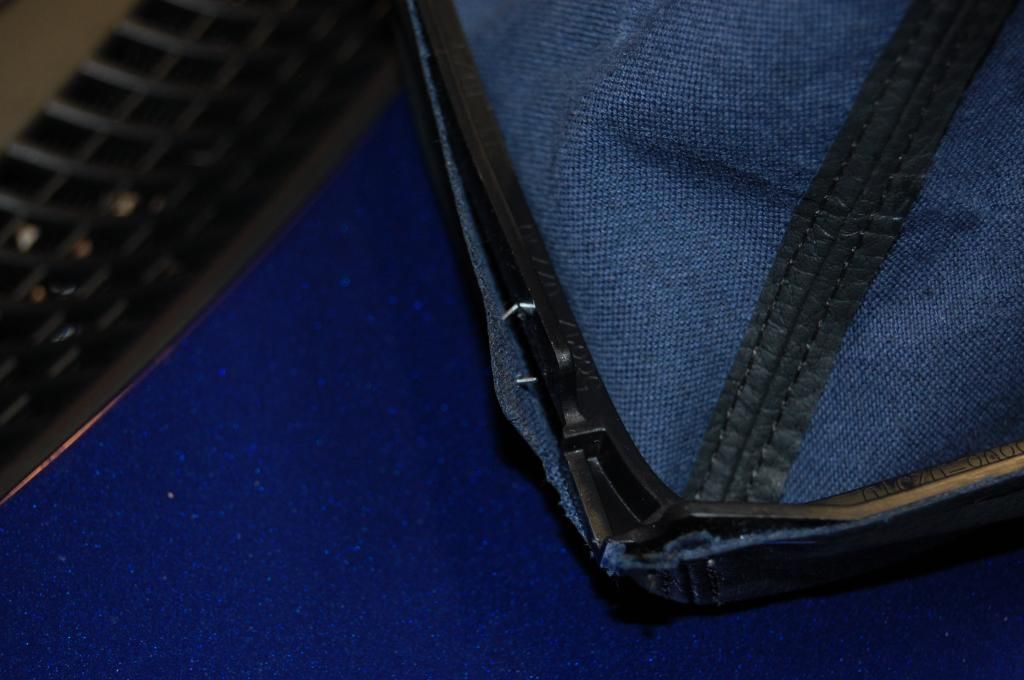
You have to separate the black retaining ring from the silver trim piece. Again this is a very simple task. Just gently push in the tabs and the retaining ring should come out with ease.
Next Step:
You then want to remove the shift boot from the retaining ring. It is held in with staples. Best method is either the flat head screwdriver you used earlier if it is thin enough, or use a hook or pick to pry them off. Try not to damage them as you will need to reuse them for the new shift boot.
Once you remove all those staples you have successfully removed the old shift boot! Now either save it or put it on eBay! Toyota wants about $80 for this cheap piece of vinyl!!
E-Brake Boot
Ok so the e-brake boot is a little more complicated.
You want to start off by popping out the piece of trim that surrounds the e-brake. Not too difficult as it just basically pulls up. Once you have the trim piece up you will want to slide the boot off of the e-brake. It's on there pretty good but she should just slide off.
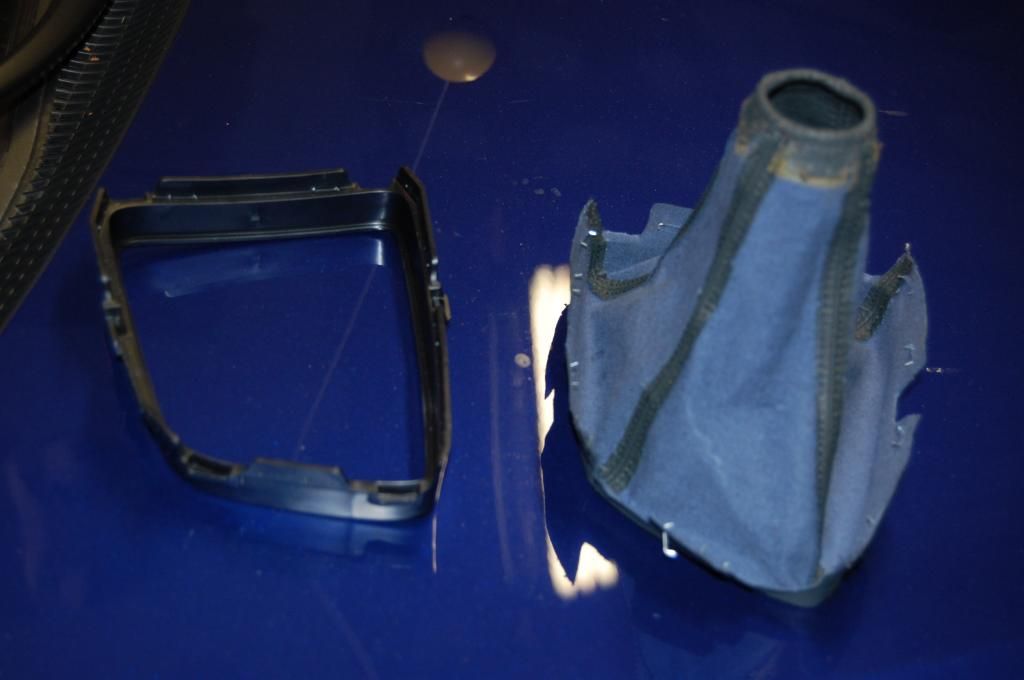
Once you have separated the boot from the brake you now have to pop the base out from the trim. There is a metal ring that needs to get popped out. Should be fairly simple to pop out, mine was anyway.
Now you need to separate the boot from the ring. To do so you need to cut the ring out of the boot. You need to actually cut the ring so you can reinstall the new boot onto it. I made the mistake of cutting in the middle of the bend. I recommend making sure that one side of the ring is straight as it will make it a lot easier to fish through the new boot.
I may have forgotten to take a picture of this step but this picture should demonstrate why and about where to cut...
Once you have the ring out removal is finished! Onto Installation!!
Installation:
Installation is going to be fairly straight forward. The e-brake boot is a bit tricky however.
Shift Boot:
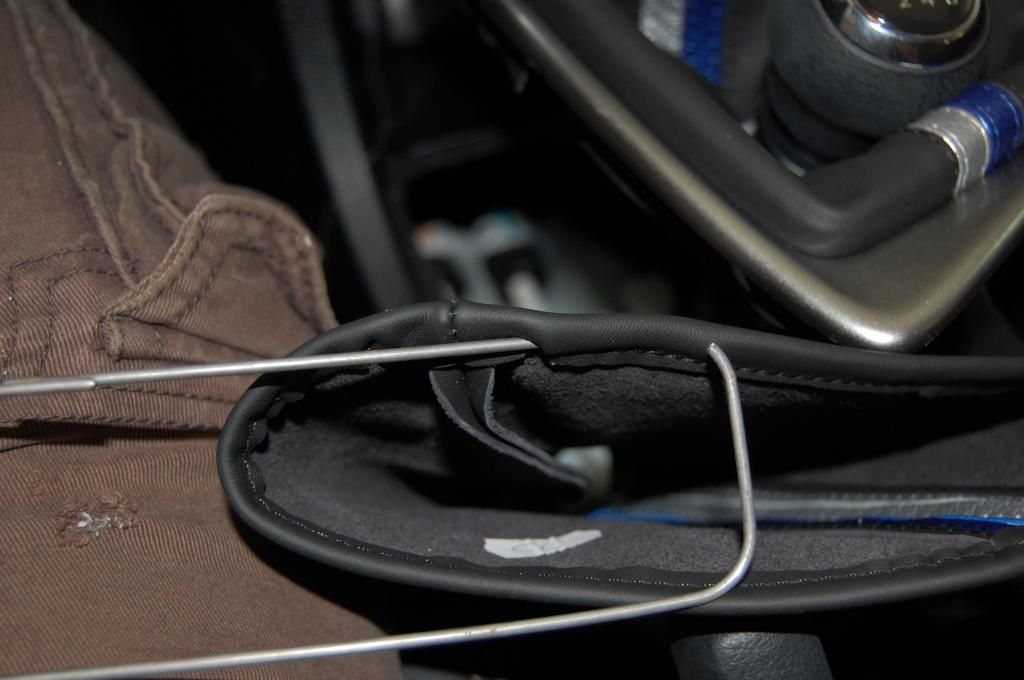
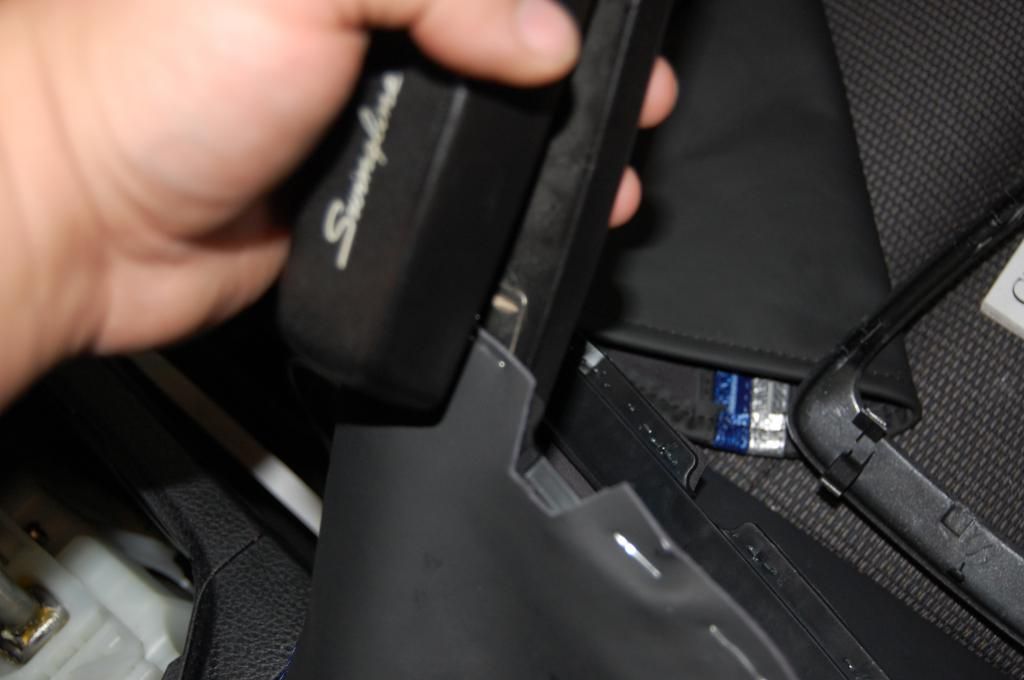
For the shift boot you want to line up the notches in the boot with the notches on the black trim ring. This is where the stapler comes in handy. Instead of trying to put the old staples back in I just took a normal stapler and slowly stapled the leather to the trim. Once it is stapled you can put the silver trim back on the black trim and clip it all together. Slide the boot over the shifter with the reverse lock-out facing the right direction and clip that baby back into the trim piece! Be sure to wiggle the top part of the boot back down to the retaining area of the reverse lock-out piece. Done!
For the e-brake boot you have to start by finding an opening in the leather to fish the metal ring back in. The leather is pretty tight but with some effort it will go all the way around. It isn't very easy but it can be done. The spot where the two ends are welded may present a challenge but it will go through. Don't give up, you have come so far! Once the ring is all the way around you want to make sure you center the pattern on the ring.
Next you have to put the pieces back together. I found that clipping the ring into its original spot in the base was easiest. Just be sure that the metal is bent correctly as it can bend out of shape when fishing it through the leather. If you don't then you will end up with a gap somewhere and it won't look very nice. Once it is back in the base you just have to slide the boot back over the e-brake handle and clip the whole trim piece back in. Once you do that you are basically finished. You just have to push the boot over the e-brake handle to the part where it “rests” in that little area.
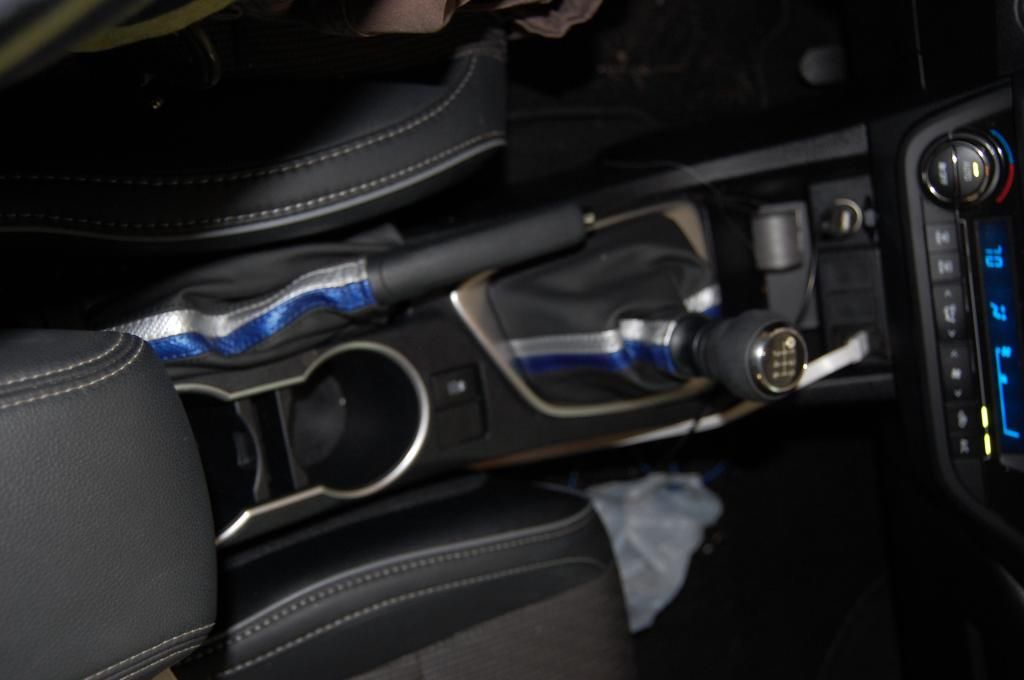
And there you have it! Sit back and admire the results!
If you have any questions please feel free to ask!
I have included a walkthrough for those who would like to try this as well.
First things first. I hold no responsibility if you try this and fail, get hurt, break something, etc.
Tools needed:
flat head screwdriver
snap ring pliers
confidence
maybe an adult beverage
a pick or hook
Stapler
Estimate Time:
Eh roughly 2 hours. I had to take pictures and write this write up so it took about that much time from start to finish.
Removal
First Step:
It would be wise to pop off the snap ring for the reverse lock-out mechanism first. This is pretty straight forward. You just want to spread the ring so that you can take off the spring and washer for the lock-out. Be careful when you are pulling the snap ring off, you wouldn't want to lose it. The spring isn't too powerful but I recommend holding the black washer down while you finagle the snap ring. Once those components are out I would just put them aside in a tray for a bit. On to the next step!

Next Step:
You need to pop the silver trim ring off. It is very simple to do. Just take your screwdriver and start at the lower left hand section of the ring. Slide it under and pop it up. Then work your way to the right. I used electrical tape on the tip just to prevent scratches. After a few pops it should just come right out.
The Next Step:
Is to separate the boot from the Reverse lock-out. It is really simple, you just pull the boot and lock-out plastic thing apart. Best method is to invert the boot and pull that way.


Fourth Step:
You have to separate the black retaining ring from the silver trim piece. Again this is a very simple task. Just gently push in the tabs and the retaining ring should come out with ease.

Next Step:
You then want to remove the shift boot from the retaining ring. It is held in with staples. Best method is either the flat head screwdriver you used earlier if it is thin enough, or use a hook or pick to pry them off. Try not to damage them as you will need to reuse them for the new shift boot.


Once you remove all those staples you have successfully removed the old shift boot! Now either save it or put it on eBay! Toyota wants about $80 for this cheap piece of vinyl!!
E-Brake Boot
Ok so the e-brake boot is a little more complicated.
You want to start off by popping out the piece of trim that surrounds the e-brake. Not too difficult as it just basically pulls up. Once you have the trim piece up you will want to slide the boot off of the e-brake. It's on there pretty good but she should just slide off.

Once you have separated the boot from the brake you now have to pop the base out from the trim. There is a metal ring that needs to get popped out. Should be fairly simple to pop out, mine was anyway.
Now you need to separate the boot from the ring. To do so you need to cut the ring out of the boot. You need to actually cut the ring so you can reinstall the new boot onto it. I made the mistake of cutting in the middle of the bend. I recommend making sure that one side of the ring is straight as it will make it a lot easier to fish through the new boot.
I may have forgotten to take a picture of this step but this picture should demonstrate why and about where to cut...

Once you have the ring out removal is finished! Onto Installation!!
Installation:
Installation is going to be fairly straight forward. The e-brake boot is a bit tricky however.
Shift Boot:
For the shift boot you want to line up the notches in the boot with the notches on the black trim ring. This is where the stapler comes in handy. Instead of trying to put the old staples back in I just took a normal stapler and slowly stapled the leather to the trim. Once it is stapled you can put the silver trim back on the black trim and clip it all together. Slide the boot over the shifter with the reverse lock-out facing the right direction and clip that baby back into the trim piece! Be sure to wiggle the top part of the boot back down to the retaining area of the reverse lock-out piece. Done!

For the e-brake boot you have to start by finding an opening in the leather to fish the metal ring back in. The leather is pretty tight but with some effort it will go all the way around. It isn't very easy but it can be done. The spot where the two ends are welded may present a challenge but it will go through. Don't give up, you have come so far! Once the ring is all the way around you want to make sure you center the pattern on the ring.
Next you have to put the pieces back together. I found that clipping the ring into its original spot in the base was easiest. Just be sure that the metal is bent correctly as it can bend out of shape when fishing it through the leather. If you don't then you will end up with a gap somewhere and it won't look very nice. Once it is back in the base you just have to slide the boot back over the e-brake handle and clip the whole trim piece back in. Once you do that you are basically finished. You just have to push the boot over the e-brake handle to the part where it “rests” in that little area.
And there you have it! Sit back and admire the results!

If you have any questions please feel free to ask!


")